Why Long Island Homeowners Are Installing UV Lights in Their HVAC Systems
DIY UV light for HVAC installation can save you $600-$1,500 compared to professional quotes, but requires careful planning and safety precautions to protect both yourself and your heating and cooling system.
Quick Answer: Installing a UV Light in Your HVAC
- Choose Your Type: Coil sterilization lights (for mold prevention on coils) or air sterilization lights (for whole-home air purification)
- Essential Tools: Power drill, 2-3 inch hole saw, UV light kit, foil tape, screwdriver, UV-protective eyewear
- Key Steps: Turn off power → drill hole in plenum → mount light and ballast → connect wiring → test operation
- Safety First: Never look directly at UV bulbs, wear protective eyewear, turn off HVAC power at breaker
- Maintenance: Replace bulbs every 12-24 months, clean every 3-6 months
- Cost: DIY kits run $150-$400 vs. $1,000-$2,000 for professional installation
If you’ve noticed musty odors from your vents, struggle with allergies, or want to prevent mold growth on your evaporator coils, UV lights offer a proven solution. Hospitals and research labs have used UV-C technology for decades to kill bacteria and viruses—and now this same germicidal irradiation technology is available for residential HVAC systems.
The reality check: While DIY installation is straightforward for mechanically-inclined homeowners, UV lights aren’t magic. They work best when combined with proper filtration and regular maintenance. The light must directly contact microorganisms to be effective, and factors like air velocity, wattage, and dwell time all impact performance.
This guide walks you through everything you need to know—from selecting the right UV light type for your Long Island home to step-by-step installation instructions and ongoing maintenance. We’ll also be honest about when professional installation makes more sense than going the DIY route.

Simple diy uv light for hvac glossary:
Understanding HVAC UV Lights and Their Benefits
In our experience serving homes from Westbury to Garden City, we’ve seen how humid coastal air can turn an HVAC system into a breeding ground for biological growth. UV lights, specifically those in the UV-C spectrum, act as a silent guardian for your indoor air quality. By disrupting the DNA and RNA of microorganisms, these lights prevent mold, bacteria, and viruses from reproducing.
One of the primary benefits is mold prevention on evaporator coils. These coils are often damp due to condensation, making them prime real estate for “dirty sock syndrome”—that musty smell that plagues many Nassau County homes. When you install a diy uv light for hvac, you aren’t just cleaning the air; you’re keeping your system’s components cleaner, which boosts overall efficiency and reduces strain on your blower motor.
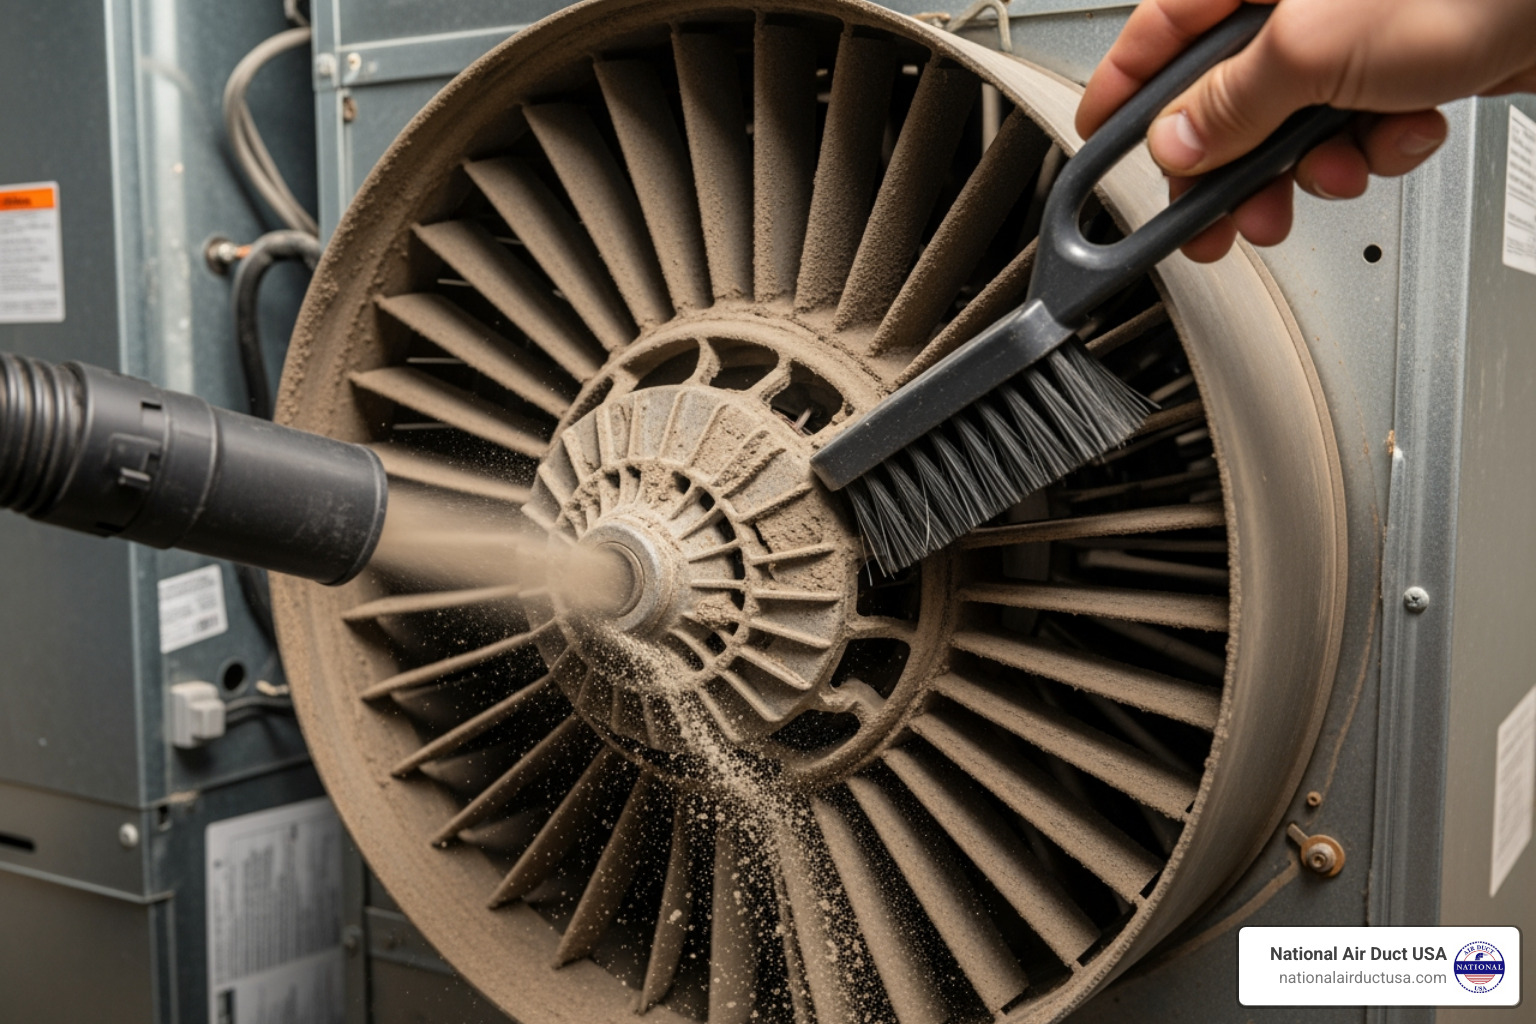
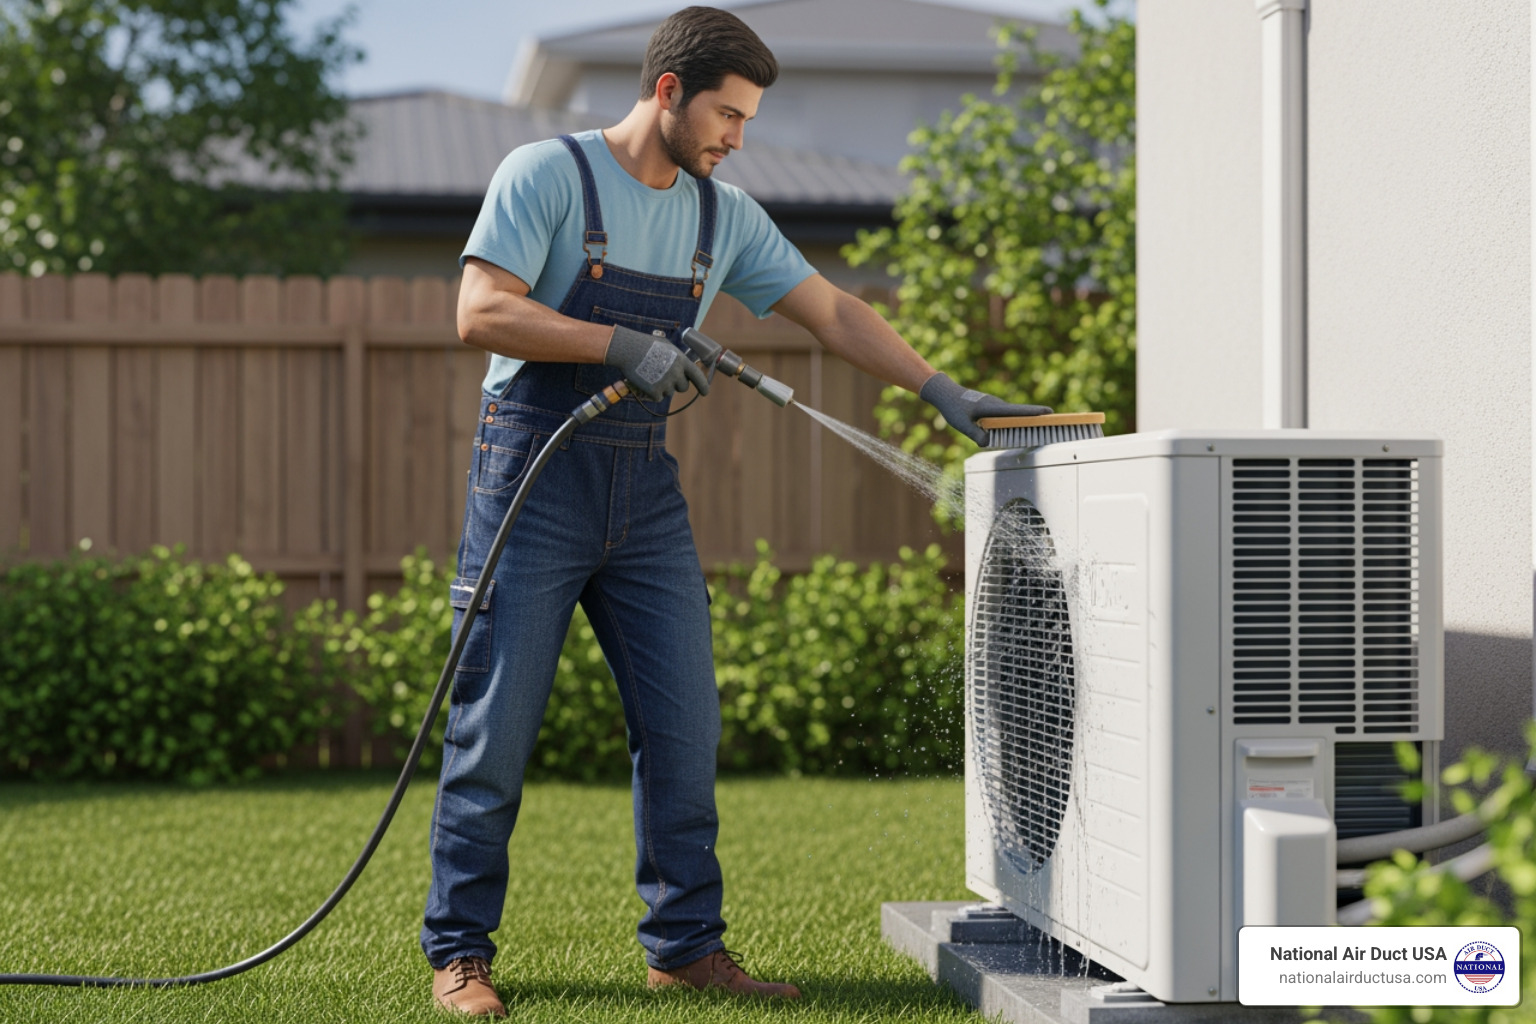
However, it is important to remember that UV lights are most effective when the system itself is clean. If your ducts are currently filled with years of Long Island dust and debris, the light cannot reach the pathogens buried beneath. The EPA provides scientific research on when to clean air ducts, suggesting it’s especially vital after construction or if visible mold is present. For a comprehensive approach, we recommend pairing your light with professional air duct cleaning to ensure the UV rays have a clear “line of sight” to do their job.
Choosing the Right diy uv light for hvac Systems
Not all UV lights are created equal. Before you start drilling into your plenum in Hempstead or Freeport, you need to decide which type of sterilization you need.
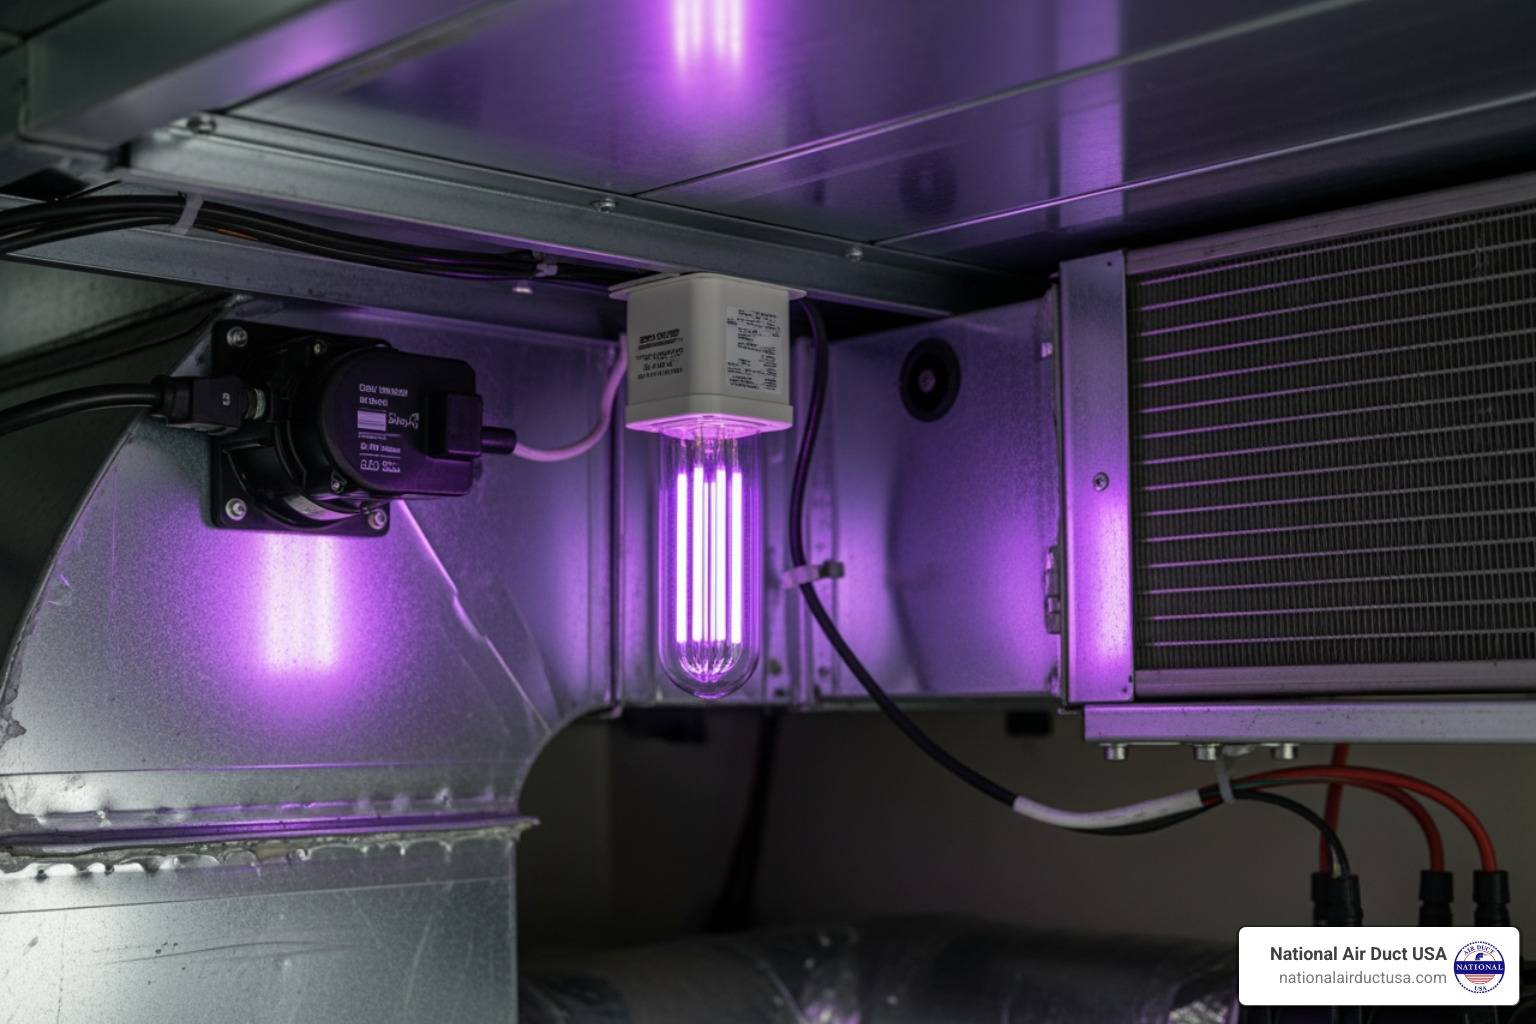
Coil Sterilization lights are the most common for DIYers. They stay on 24/7 and shine directly on the AC evaporator coil. This prevents the “biofilm” (a fancy word for slime) from growing on the fins. Air Sterilization systems are usually installed in the return air duct and are designed to kill pathogens as they fly by at high speeds. This requires much higher wattage and specific “dwell time”—the amount of time the air is exposed to the light.
| Feature | Coil Sterilization | Air Sterilization |
|---|---|---|
| Primary Goal | Prevent mold on coils | Kill airborne pathogens |
| Placement | Near evaporator coil | Return air duct |
| Operation | Usually 24/7 | Often cycled with blower |
| DIY Difficulty | Low to Medium | Medium to High |
| Wattage Needed | Lower (13W – 36W) | Higher (High-output tubes) |
When choosing your kit, look for “no-ozone” bulbs if you have respiratory sensitivities. While some people like the “thunderstorm” smell of ozone, it can be an irritant for those with asthma.
Step-by-Step Guide to Your diy uv light for hvac Installation
Ready to get to work? Most homeowners in Suffolk County can finish a diy uv light for hvac installation in about 30 to 60 minutes. The key is having everything ready before you climb into the attic or basement.

Before you begin, ensure you have a standard 120V outlet nearby. Most DIY kits are “plug-and-play.” If you need to hardwire the unit into your furnace’s 24V transformer, that adds a layer of complexity that might require a pro. If you’re unsure, you can always check out our guide on UV light installation for more technical details.
Essential Tools and Safety Precautions for a diy uv light for hvac Project
Safety is the most important part of this guide. UV-C light is germicidal because it destroys living cells—and that includes the cells in your eyes and on your skin.
- Never look at the bulb: Even a few seconds of direct exposure can cause “welder’s flash” or permanent eye damage.
- Power Down: Turn off the HVAC system at the breaker and the service switch.
- PPE: Wear UV-protective goggles and gloves during the testing phase.
- Material Awareness: UV light can degrade certain materials over time. Scientific research on UV-C and plastic materials shows that while UV-C is generally safe for most HVAC plastics and rubbers, UV-B can be more damaging. To be safe, keep the light at least 2 feet away from your air filters and shield any non-UV-rated wiring with foil tape.
Optimal Placement and Mounting Procedures
Placement is everything. If you place the light in a spot where it’s blocked by a bracket or a filter, it’s just a very expensive nightlight for your furnace.
- The “Sweet Spot”: For coil sterilization, the optimal placement is on the output side of the furnace, shining directly onto the “A-coil” (evaporator coil).
- Reflective Surfaces: Try to mount the light near reflective metal surfaces within the ductwork to bounce the rays around, increasing the “kill zone.”
- The Mounting Process:
- Use the template provided in your kit to mark the hole.
- Use a hole saw (usually 2-3 inches) to bore through the metal plenum. Pro tip: Be careful not to drill into the refrigerant lines or the coil itself!
- Attach the mounting plate using self-tapping screws. If you have flex duct, you’ll need to use high-quality foil tape to create a rigid seal.
- Insert the bulb into the ballast, then slide the assembly into the hole.
Maintenance and Long-Term Performance
Congratulations! Your diy uv light for hvac is installed. But don’t “set it and forget it.” To keep the air in your Garden City home crisp and clean, you need to follow a maintenance schedule.
Most UV bulbs are designed for 24/7 operation. While it might seem like a waste of electricity, cycling the bulb on and off every time the AC kicks in can actually shorten the bulb’s life significantly. A constant “on” state keeps the filament stable.
Check your unit’s indicator light once a month. Most ballasts have a small LED or a “sight glass” (a tiny plastic window) that lets you see a faint blue glow without exposing your eyes to direct radiation. If the glow is gone, it’s time to troubleshoot the ballast or replace the bulb. Regular HVAC system cleaning also ensures that dust doesn’t settle on the bulb, which acts like a shield for bacteria.
Cleaning and Replacing Your UV Bulbs
Even if the bulb is still glowing blue, it loses its germicidal effectiveness over time. Mercury vapor bulbs typically have an effective life of about 9,000 hours, which is roughly one year.
- Annual Replacement: We recommend replacing the bulb every 12 months for maximum pathogen kill rates, or at most every 24 months.
- The Cleaning Routine: Every 6 months, turn off the power, wait for the bulb to cool, and wipe it down with an alcohol wipe. Dust buildup can reduce UV output by up to 50%.
- Hand Safety: Never touch the glass of a new UV bulb with your bare hands. The oils from your skin can create “hot spots” that cause the glass to crack when it heats up.
Professional vs. DIY: When to Call the Experts
We love a good DIY project, but sometimes it’s better to call the team at National Air Duct USA. Here’s a quick breakdown of the costs and risks:
DIY Installation:
- Cost: $150 – $400 for a quality kit.
- Pros: Saves money, immediate satisfaction.
- Cons: No warranty on the HVAC system if you damage the coil; risk of electrical shock or eye injury; potential for improper placement.
Professional Installation:
- Cost: $1,000 – $2,000 (though we often provide more competitive rates for our Long Island neighbors).
- Pros: NADCA-certified technicians ensure optimal placement for maximum “kill time”; professional-grade equipment (like the Bioforce Defender); guaranteed safety; no risk to your existing HVAC warranty.
- Cons: Higher upfront cost.
If your HVAC system is still under a manufacturer’s warranty, drilling holes into the cabinet yourself might void it. Furthermore, if your system requires complex wiring into the furnace control board, a pro can ensure you don’t fry your expensive motherboard. You can explore our full range of HVAC services to see how we can help.
Frequently Asked Questions about HVAC UV Lights
How effective are UV lights at killing pathogens?
Very effective—under the right conditions. UV-C light works by destroying the molecular bonds in the DNA of mold, viruses, and bacteria. However, effectiveness depends on “dwell time.” In a fast-moving stream of air, a single low-wattage bulb might not have enough time to kill a virus. That’s why coil sterilization (where the light shines on a stationary surface) is often more effective for residential units than air sterilization alone.
Do HVAC UV lights produce harmful ozone?
Some do, some don’t. Older or cheaper “vacuum UV” lamps can produce ozone, which has a distinct smell. While ozone is great at neutralizing odors, it can be a respiratory irritant. Most modern diy uv light for hvac kits are labeled “Ozone-Free.” Always check the ASHRAE standards on the packaging to ensure it meets safety requirements for residential use.
How often should I replace my UV bulbs?
As shown above, the intensity of the UV light drops off significantly after a year of use. Even if the bulb looks bright, the specific wavelength needed to kill microbes is likely depleted. Mark your calendar for an annual “Bulb Birthday” to keep your system running at peak performance.
Conclusion
Installing a diy uv light for hvac is a fantastic way for Long Island homeowners to take control of their indoor air quality. Whether you’re in Hicksville, Freeport, or Nassau County, the combination of UV-C technology and proper system maintenance can lead to a healthier home and a more efficient HVAC system.
The light is only one piece of the puzzle. For the best results, start with a clean slate. National Air Duct USA specializes in professional air duct cleaning and UV light installation across Long Island and Westbury. Our NADCA-certified technicians can help you decide on the best placement for your light or handle the entire installation for you with transparent pricing and a 100% satisfaction guarantee.
Ready to breathe easier? Get a Free Quote or learn more about our services today. Don’t let mold and bacteria take over your home—shine a light on the problem!