Why Indoor Air Quality Starts with Clean AC Ducts
A mold fogger for ac ducts is a device that disperses an antimicrobial mist throughout your HVAC system to kill mold spores, neutralize odors, and improve indoor air quality. If you’ve noticed a musty smell when your AC kicks on, mold in your air ducts could be the culprit.
Quick Answer: What is a Mold Fogger for AC Ducts?
- What it is: A ULV (Ultra Low Volume) fogger that creates a fine mist of an EPA-approved mold control solution.
- How it works: Disperses antimicrobial particles that coat duct surfaces, killing mold spores as they dry.
- Best for: Light surface mold, musty odors, and preventative maintenance in accessible ducts.
- Cost: DIY foggers range from $30-$180; professional services cost $250-$500.
- Key ingredient: Thymol (plant-based) or other EPA-registered antimicrobial agents.
- Not a replacement for: Professional duct cleaning when debris, heavy mold, or water damage is present.
Fogging your AC ducts is a DIY option for light mold issues and odor control. The fogger’s fine mist penetrates ductwork, reaching areas inaccessible to traditional cleaning. However, fogging is not a solution for heavy infestations, debris buildup, or moisture problems that require professional attention.
This guide will show you how to use a mold fogger safely, when it’s the right choice, and when to call the experts.

Understanding Mold in Your AC Ducts and How Fogging Helps
Your HVAC system circulates air, but it also circulates whatever is living inside your ducts. If mold has taken up residence, its spores get a free ride into every room of your house.

Why Ducts Grow Mold
Air ducts are a five-star hotel for mold, providing the three things it needs to thrive:
- Darkness: Ducts are never exposed to sunlight, allowing mold to grow undisturbed.
- Moisture: Condensation from AC coils, leaky ductwork, or high indoor humidity provides the necessary water.
- Food: Dust, pollen, pet dander, and skin cells that settle in ducts become an all-you-can-eat buffet for mold spores.
These conditions create the perfect storm for mold to settle and multiply.
Health Risks of Mold in Ducts
Mold in your AC ducts is not an “out of sight, out of mind” problem. As mold grows, it releases spores and mycotoxins that your HVAC system spreads throughout your home. This can lead to:
- Allergies: Sneezing, itchy eyes, runny nose, and skin irritation that worsen indoors.
- Asthma Triggers: Mold exposure can cause coughing, wheezing, and difficulty breathing for those with asthma.
- Respiratory Infections: Children, the elderly, and those with compromised immune systems are especially vulnerable to more serious infections.
- Musty Odors: A persistent musty smell that air fresheners can’t mask.
The EPA’s brief guide to mold, moisture, and your home explains that controlling moisture is key to preventing mold.
How Fogging Works
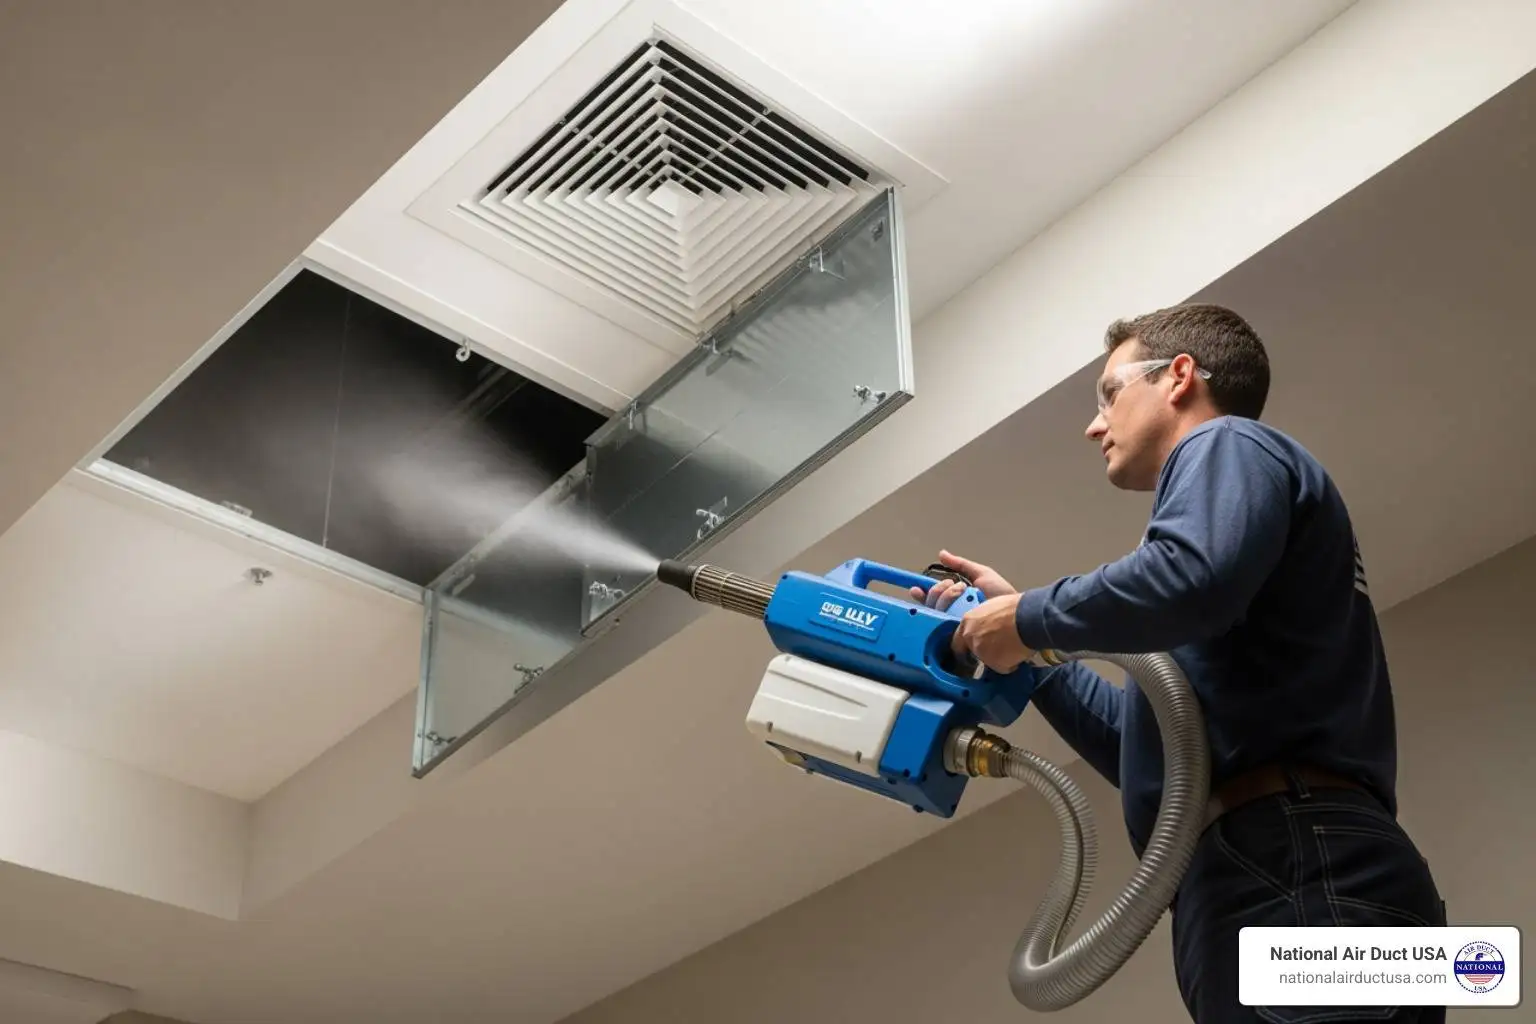
A mold fogger for ac ducts offers a clever solution. Instead of trying to scrub inaccessible ductwork, fogging disperses an antimicrobial solution as an ultra-fine mist.
ULV (Ultra Low Volume) foggers create microscopic droplets (5-50 microns) that travel wherever air flows. This mist, typically containing an EPA-registered botanical compound like Thymol, coats all interior surfaces of the ductwork.
The active ingredients attack mold at a cellular level, destroying spores and breaking down existing colonies. The solution also neutralizes the musty odors produced by mold.
While fogging kills mold and eliminates odors, it does not physically remove dead mold or debris. The buildup remains, which is a key distinction when deciding if fogging alone is sufficient for your situation.
Preparing for AC Duct Fogging: Safety and Supplies
A little preparation ensures your DIY duct fogging project is safe and effective. Gather the right supplies and follow these basic safety steps before you begin.
Essential Supplies for Duct Fogging
- ULV Cold Fogger: You can buy one for $30-$180 or rent one from a hardware store for about $20-$40 per day.
- EPA-Approved Mold Solution: Use a product specifically designed for HVAC systems. Botanical solutions with Thymol are effective and gentler than harsh chemicals. Ensure it is EPA-registered.
- Personal Protective Equipment (PPE): This is non-negotiable. You will need a respirator mask (not a dust mask), safety goggles, and gloves.
- Other Supplies: HVAC tape or plastic sheeting to seal vents, tarps to protect floors and furniture, and a new, high-quality air filter (MERV 11 or higher) for replacement.
HVAC System Preparation
Properly preparing your HVAC system is critical for a successful treatment.
- Turn Off Power: Shut down your HVAC system at both the thermostat and the circuit breaker for safety.
- Locate Vents: Identify your large return air vents (where air is sucked in) and smaller supply vents (where air blows out).
- Remove Old Filters: Take out the existing air filters from all return vents and the air handler. You will replace them after fogging.
- Protect Your Home: Cover furniture, electronics, and floors near the main return vent with tarps. Remove all people, pets, and plants from the treatment area.
Safety Precautions
Safety is not optional when using a mold fogger for ac ducts.
- Read the Labels: Thoroughly read the instructions on both the fogger and the mold solution. Follow all manufacturer guidelines for use, PPE, and ventilation.
- Ventilate Properly: After the fogging and settling period, open windows and doors to air out your home for at least 30-60 minutes. We recommend leaving the home during and immediately after fogging, even if the product claims otherwise.
- When in Doubt, Call a Pro: If you’re unsure about any step, it’s always safer to call a professional. Our NADCA-certified technicians at National Air Duct USA are equipped to handle these treatments safely and effectively.
How to Use a Mold Fogger for AC Ducts in 5 Easy Steps
If you’ve prepared properly, you can confidently tackle minor mold issues and musty odors. The key is to circulate the antimicrobial mist throughout the entire HVAC system. Follow these five steps for effective results.

Step 1: Prepare Your Home and HVAC System
This step is crucial for safety and effectiveness. Before you begin, ensure you have:
- Turned off the HVAC system at the thermostat and breaker.
- Removed all old air filters.
- Covered all supply vents with tape or plastic sheeting.
- Protected furniture and flooring near the return vent.
- Removed all people, pets, and plants from the house.
Step 2: Prepare the Fogger and Solution
Get your equipment ready to go.
- Read the Manual: Understand your specific fogger’s settings and operation.
- Wear PPE: Put on your respirator, goggles, and gloves before handling the solution.
- Mix the Solution: Prepare the mold control solution according to the label’s directions. Do not over-dilute or under-dilute.
- Fill the Fogger: Carefully fill the fogger’s tank to the designated fill line.
Step 3: Fog the Return Air Duct
Now it’s time to introduce the mist into your system.
- Position the Fogger: Aim the fogger’s nozzle directly into your main return air vent.
- Start Fogging: Turn on the fogger. With the HVAC fan still OFF, let the fogger run for 5-10 minutes. This allows a concentrated mist to fill the return duct and air handler.
Step 4: Turn on the HVAC Fan to Circulate the Fog
Next, distribute the mist throughout the entire duct network.
- Activate the Fan: Go to your thermostat and switch the fan setting to “On” (not “Auto”). Ensure the heat and AC are off.
- Circulate: Let the fan run for 15-20 minutes. The blower will pull the mist from the air handler and push it through all the supply ducts, coating every interior surface.
Step 5: Complete the Process and Ventilate
Finish the job and make your home safe to re-enter.
- Turn Off the Fan: Switch the fan off at the thermostat.
- Let it Dwell: Allow the solution to settle and dry for the time recommended on the product label (often several hours or overnight). This is when the antimicrobial agents work.
- Ventilate: After the dwell time, thoroughly ventilate your home by opening windows and doors for at least 30-60 minutes.
- Install New Filter: Remove the coverings from your supply vents and install a brand-new, high-quality air filter (MERV 11 or higher). This will catch any remaining particles.
That’s it! You’ve successfully used a mold fogger for ac ducts to treat your HVAC system.
Fogging vs. Other Mold Treatments: What’s the Best Choice?
When facing mold in your AC ducts, it’s important to understand your options. DIY fogging, professional cleaning, and UV lights each have a role. This comparison will help you choose the best method for your home in Long Island or Westbury.
| Treatment Method | Effectiveness | Cost Range | Best For |
|---|---|---|---|
| DIY Fogging | Kills surface mold and spores; neutralizes odors | $30-$180 for equipment and solution | Light surface mold, musty odors, preventative maintenance |
| Professional Duct Cleaning | Removes all debris, mold, and contaminants; addresses root causes | $250-$500+ per home | Visible debris, heavy mold, water damage, comprehensive cleaning |
| UV Light Installation | Continuously prevents new growth on coils and nearby surfaces | $400-$800+ installed | Ongoing prevention after cleaning; maintaining clean coils |
DIY Mold Fogging for AC Ducts
Mold foggers for AC ducts are a budget-friendly first step for minor issues. It’s a good choice for slight musty smells or light, dusty-looking surface mold. However, fogging has limits. It kills spores but doesn’t remove physical debris like dust and pet hair. It also won’t solve the root cause, such as a moisture problem, meaning mold can return.
Professional Air Duct Cleaning
For a comprehensive solution, professional cleaning is the gold standard. This is necessary if you see visible debris, have had water damage, or have persistent odors. NADCA-certified technicians use industrial vacuums and rotating brushes to physically extract all contaminants. They also clean the air handler and evaporator coils and can help identify the source of the moisture problem. While the upfront cost is higher, it’s a thorough solution that removes the problem instead of just treating it.
UV Light Installation
UV-C lights offer continuous prevention by killing mold, bacteria, and viruses on a 24/7 basis. Installed near the wet evaporator coil, they are highly effective at stopping new growth at its most common source. However, UV lights are limited to line-of-sight and don’t remove existing buildup. They are best used as a preventative tool after a professional cleaning, not as a solution for an existing infestation.
Making the Right Choice
- DIY Fogging: Best for minor odors and light surface mold as a quick, affordable fix.
- Professional Cleaning: The right choice for visible mold, heavy debris, or persistent problems.
- UV Lights: An excellent long-term investment for preventing future growth after a cleaning.
At National Air Duct USA, we can help you determine the best approach for your specific situation, which may involve a combination of services.
When to DIY and When to Call a Professional
Not every mold issue is a DIY project. Sometimes, a mold fogger for ac ducts is the right tool, but for larger problems, you need professional help. The Environmental Protection Agency (EPA) provides clear guidelines on this.
When DIY Fogging Makes Sense
You can likely handle the issue yourself in these situations:
- Minor Mold Growth: The mold covers a small area, generally less than 10 square feet (a 3×3 foot patch).
- Persistent Musty Odors: A fogger can neutralize odors when there’s no visible mold or heavy debris, and after any moisture source has been fixed.
- Preventative Maintenance: Fogging can be used periodically to keep ducts fresh after a professional cleaning or if your system is in good shape.
When to Call the Professionals
It’s time to call for professional help if you encounter any of the following:
- Large-Scale Mold: The infestation is widespread or covers more than 10 square feet.
- Recent Water Damage: Flooding, a burst pipe, or a roof leak has occurred, creating conditions for extensive mold.
- Visible Debris: You can see significant buildup of dust, dirt, or other contaminants in your vents.
- Chronic Health Symptoms: Someone in your home has persistent allergies, respiratory issues, or other symptoms you suspect are linked to air quality, especially if they are immunocompromised.
- Unknown Moisture Source: You have mold, but you can’t find and fix the leak or humidity issue causing it.
- Inaccessible Mold: The mold is deep inside the air handler, on the evaporator coil, or in parts of the ductwork you can’t reach.
For a guaranteed solution to these more serious issues, consider a professional HVAC System Cleaning. Our NADCA-certified technicians have the right tools and expertise to do the job safely and completely.
Frequently Asked Questions about Mold Foggers
Homeowners in Long Island and Westbury often ask about the safety and effectiveness of using a mold fogger for ac ducts. Here are straightforward answers to common concerns.
Are the chemicals in mold foggers safe?
Yes, when used correctly. Always choose EPA-registered products designed for HVAC systems. Many modern solutions use botanical ingredients like Thymol, a natural antimicrobial derived from thyme. While safer than harsh chemicals, you must still take precautions. Always wear proper PPE (respirator, goggles, gloves) during application, and thoroughly ventilate your home after the solution has had time to settle.
How often should I fog my AC ducts?
Fogging is not a routine maintenance task. It should only be done when there is a specific problem, such as a musty odor or suspected light surface mold. The best strategy is prevention: keep indoor humidity between 30-50%, change your air filter every 1-3 months, and fix any water leaks promptly. For a deeper look at maintenance, see Why Regular Air Duct Cleaning is Essential.
Can fogging make a mold problem worse?
Yes, it can. If you have a large, active mold colony, the force of the fogger can dislodge spores and spread them throughout your home. Fogging treats symptoms, not the root cause. It kills surface mold but doesn’t remove the debris that feeds it or fix the moisture that allows it to grow. Always address the moisture source and remove heavy debris before considering fogging. For anything beyond a minor issue, professional cleaning is the safer, more effective choice.
Conclusion
A mold fogger for ac ducts is a useful DIY tool for minor mold issues, musty odors, or preventative maintenance. When used correctly, it can help improve your home’s air quality. Modern botanical solutions containing Thymol offer an effective and safer alternative to harsh chemicals.
However, fogging is not a cure-all. It does not remove physical debris, nor does it fix the underlying moisture problems that cause mold to grow. For significant contamination, visible mold, or issues stemming from water damage, DIY fogging can be ineffective or even spread spores.
In these cases, professional help is the smart choice. At National Air Duct USA, our NADCA-certified technicians serve Long Island and Westbury with the right equipment to remove contaminants completely and safely. We identify the root cause to ensure the problem is solved for good.
We believe in transparent pricing and guaranteed satisfaction to help your family breathe cleaner, healthier air. For a complete list of our professional solutions, explore our Services. Your home deserves a real solution, not just a temporary fix.