Why Your Dryer Duct Installation Matters More Than You Think
Dryer duct installation is the process of connecting your clothes dryer to the outside of your home to safely vent hot, humid air and lint. Without a proper vent, a dryer is inefficient and a serious fire hazard. In fact, over 40 dryers catch fire every day in the US, with clogged or improperly installed vents being a primary cause.
Quick Installation Overview:
- Plan the shortest, straightest route to an exterior wall.
- Use 4-inch rigid metal ducting—never flexible vinyl or plastic.
- Keep total length under 35 feet (subtract 5 feet for each 90-degree turn).
- Seal all joints with metal foil tape—never screws or duct tape.
- Install an exterior vent hood at least 12 inches above the ground.
- Test airflow and check for leaks after installation.
Beyond fire safety, faulty venting causes other problems. Your dryer works harder, driving up energy bills. Trapped moisture can lead to mold and mildew. And your appliance will wear out years sooner than it should.
The good news is that proper installation is achievable. With the right materials and a clear plan, you can create a safe, efficient venting system that protects your home and saves you money.
, lint accumulation in ducts, and improper duct materials like flexible vinyl which is highly flammable; proper installation with rigid metal ducts, regular cleaning, and correct termination outside reduces fire risk by over 80% - dryer duct installation infographic")
Why Proper Dryer Venting is a Must for Your Home
Improper dryer duct installation isn’t just an inconvenience—it’s a serious risk to your home’s safety, health, and budget. Here’s why getting it right is non-negotiable.
The Fire Risk You Can’t Ignore
Lint is highly flammable. When a vent is poorly installed, lint builds up, and the hot air from the dryer can ignite it, causing a devastating fire. This is why material choice is critical. Rigid metal ducts have a smooth interior that minimizes lint buildup. In contrast, flexible plastic or thin foil ducts trap lint, get crushed easily, and are a known fire hazard.
The Silent Danger of Carbon Monoxide
If you have a gas dryer, a blocked or leaky vent can cause deadly carbon monoxide (CO) to seep into your home. Gas dryers produce combustion byproducts that must be exhausted outside. For this reason, gas dryers must always vent directly to the exterior with a perfectly sealed system. There is no safe alternative.
Your Energy Bills and Appliance Health
A restricted vent forces your dryer to run longer and work harder, increasing your utility bills. This constant strain also causes premature wear and tear on the appliance’s components, leading to costly repairs and a shorter lifespan. Proper venting allows your dryer to run efficiently, saving you money and extending its life.
The Moisture Problem
A single dryer load releases gallons of water as vapor. If not vented outside, this moisture escapes into your home, creating the perfect environment for mold and mildew growth. This can damage your walls and pose health risks. Unless you own a specific ventless model, indoor venting is never a safe option, especially for gas dryers due to the CO risk.
The Bottom Line
Proper dryer venting is essential for homeowners in Westbury, Hempstead, and across Nassau and Suffolk Counties. It protects your home from fire, prevents CO poisoning, controls moisture, saves money, and extends your appliance’s life. Investing in a correct installation is a small price to pay for your family’s safety and peace of mind.
Planning Your Project: Tools, Materials, and Pathfinding
A little preparation before starting your dryer duct installation will save you time and headaches. Gathering your supplies and mapping out the best route is the key to a smooth project.

Essential Tools and Supplies
Having the right gear on hand is half the battle. You will need:
- Tools: Drill with a 4-1/4 inch hole saw, tin snips, caulking gun, screwdrivers, tape measure, level, safety glasses, and gloves.
- Materials: 4-inch diameter rigid metal ducting (aluminum or galvanized steel), 90-degree and 45-degree duct elbows, an exterior vent hood, HVAC-grade metal foil tape, and hanger straps.
Choosing the Right Duct Material
The ducting you choose determines whether your installation is safe or a fire hazard. Here’s a quick breakdown:
- Rigid Metal Ducting: This is the safest choice. Its smooth interior allows for maximum airflow and minimal lint buildup. It’s fire-resistant, durable, and the only material recommended for the entire duct run, especially inside walls or ceilings.
- Semi-Rigid Metal Duct: More flexible than rigid ducting, this is acceptable for short, visible transition runs (typically 8 feet or less) from the dryer to the wall connection. Its corrugated interior can still trap some lint.
- Flexible Foil Duct: This material crushes easily, restricting airflow and creating a major lint trap. It should only be used for very short transition runs (under 8 feet) and never inside walls or ceilings.
- Flexible Vinyl or Plastic Duct: Never use this material. It is highly flammable, traps lint, and is prohibited by building codes and appliance manufacturers. If you have this, replace it immediately.
For your dryer duct installation, always use 4-inch round, rigid metal ducting for the main run.
Planning the Route: The Shortest Path is the Best Path
Your goal is to create the shortest, straightest path from the dryer to the outside. Every foot and every turn reduces airflow and creates a place for lint to accumulate.
The International Residential Code (IRC) sets a maximum length of 35 feet for rigid metal ducts. However, this is for a straight run. You must subtract from this total for every bend:
- Deduct 5 feet for each 90-degree turn.
- Deduct 2.5 feet for each 45-degree turn.
For example, a route with two 90-degree elbows has a maximum straight-duct length of 25 feet (35 – 10). Before cutting, sketch your route and locate any studs, pipes, or wiring to avoid. Always check your dryer’s owner’s manual, as some models have more restrictive length requirements. You can often find these on manufacturer resources like GE Appliances.
If your route is long or complex, it’s best to call a professional. The team at National Air Duct USA can help ensure your dryer vent is installed safely and correctly.
Your Step-by-Step Dryer Duct Installation Guide
With your tools, materials, and plan ready, it’s time to begin the dryer duct installation. These steps will guide you through creating a safe and efficient system. For simplicity and ease of maintenance, a wall vent is always preferable to a roof vent, which should only be a last resort.

Step 1: Mark and Cut the Exterior Exit Hole
Careful measurement is key. From inside, determine the shortest, straightest path to the exterior, ensuring you avoid studs, wires, or pipes. Drill a small pilot hole through to the outside to serve as your guide.
From the outside, locate the pilot hole. The vent hood must be at least 12 inches above the ground and three feet from any windows or doors. Using a 4-1/4 inch hole saw, cut the main opening from the outside in for a cleaner finish. For vinyl siding, you may need a mounting block. For stucco or brick, use a masonry bit and hammer drill, working slowly and carefully.
Step 2: Cut, Assemble, and Secure the Ductwork
Measure the distances for your duct run and use tin snips to cut the rigid metal sections to length. Remember to wear gloves, as cut metal edges are sharp.
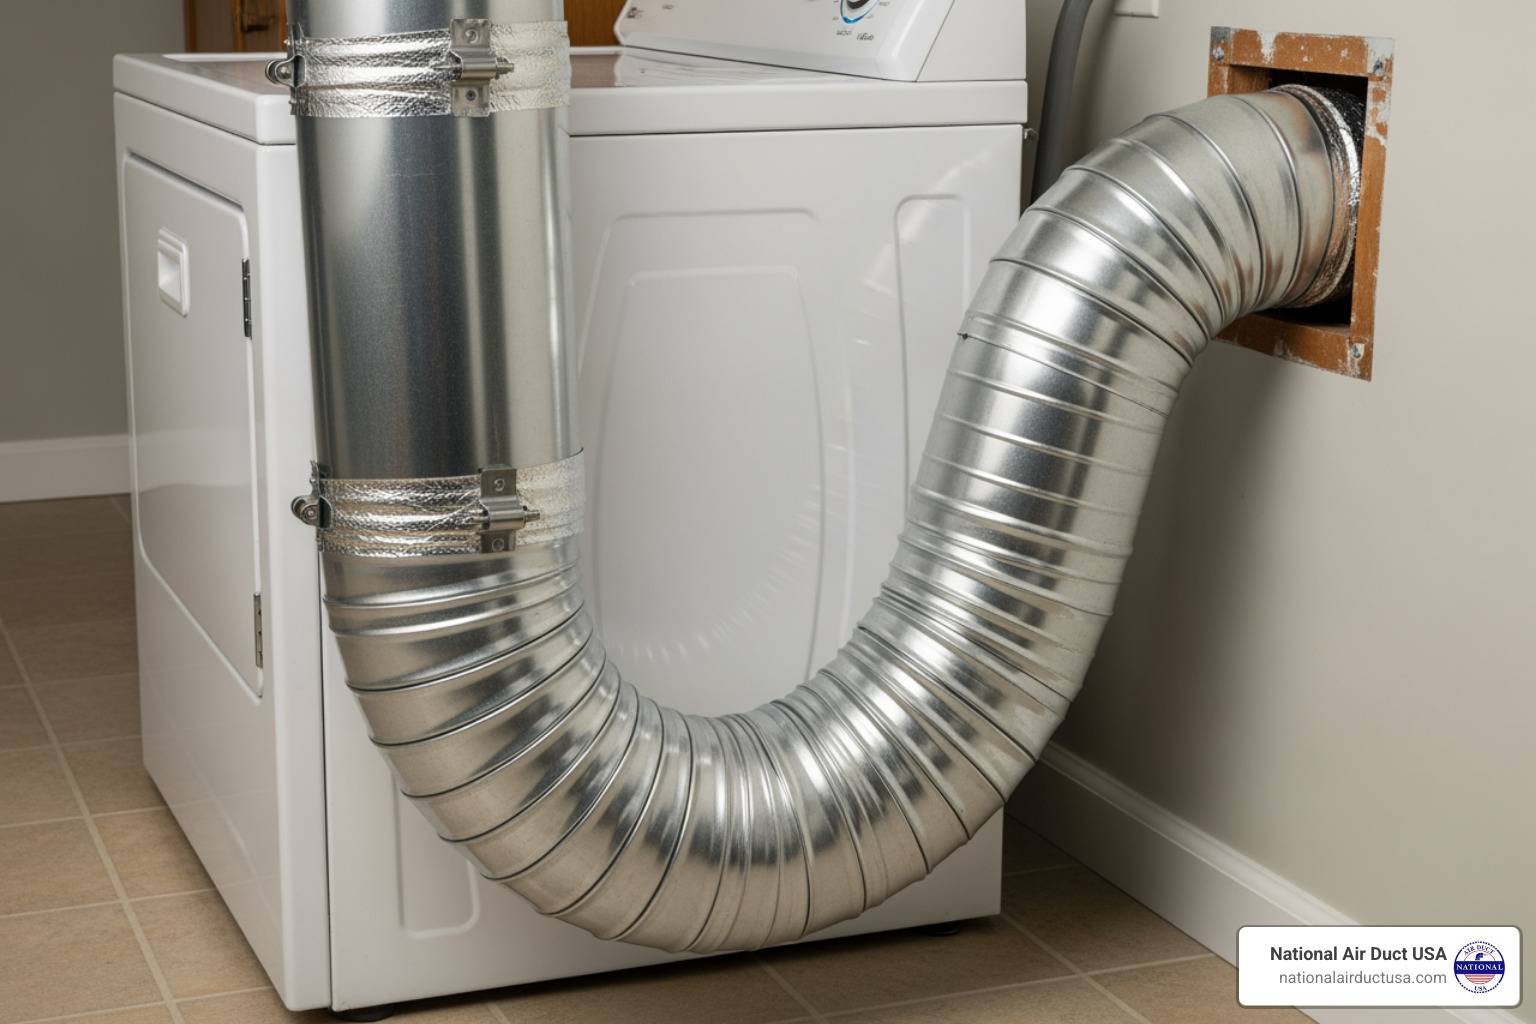
Assemble the sections by sliding the crimped (male) end of one pipe into the non-crimped (female) end of the next, with the crimp pointing away from the dryer. This ensures any condensation flows toward the outside.
Sealing the joints is one of the most critical steps. Use metal foil tape (HVAC-grade) on every connection to create an airtight seal. Never use screws, as they protrude into the duct and catch lint. Never use regular duct tape, as its adhesive fails under heat, causing leaks.
Support the duct run every 6 to 8 feet with hanger straps attached to joists or walls. This prevents sagging and maintains a slight downward slope (about 1/4-inch per foot) toward the exterior to help with drainage.
Step 3: Install the Exterior Vent Hood and Final Connections
We’re almost done. Head outside and insert the exterior vent hood into the opening, ensuring it’s level before securing it with screws.

Apply a bead of exterior-grade caulk around the top and sides of the hood where it meets the house. Leave the bottom edge uncaulked to allow any moisture to drain out.
Back inside, connect the ductwork to the dryer’s exhaust port. A short (under 8 feet) semi-rigid metal transition duct can be used for flexibility, but seal it tightly with metal foil tape. Connect the interior duct run to the vent hood’s connection point, again sealing with foil tape. For stackable units, a recessed wall box can prevent the duct from being crushed.
Step 4: Test Your New Installation
Time to check your work. Turn the dryer on a no-heat setting. Go outside and confirm the vent hood’s damper flap opens fully and you feel a strong, steady airflow. Back inside, run your hand over the taped joints to feel for any air leaks; re-tape if necessary.
Finally, carefully push the dryer into its final position, making sure not to crush or kink the transition duct. Congratulations! Your dryer duct installation is complete. If you encountered any issues, the certified technicians at National Air Duct USA are always ready to help homeowners in Long Island and beyond.
Maintenance, Troubleshooting, and When to Call a Pro
Your new dryer duct installation is complete, but regular maintenance is crucial for long-term safety and efficiency. Think of it as a tune-up for one of your home’s hardest-working systems.
Signs of a Clogged Vent
Your dryer will give you warning signs when the vent is clogged. Look out for:
- Long drying times: Clothes are still damp after a full cycle.
- Overheating dryer: The top of the appliance is unusually hot to the touch, or the laundry room becomes a sauna.
- Burning smell: This indicates lint is overheating in the duct—an immediate fire hazard. Turn off the dryer and investigate.
- Visible lint: Lint is accumulating around the exterior vent hood instead of being expelled.
- Musty clothes: Trapped moisture is creating mold or mildew in the vent.
For pedestal or stackable units, be especially careful not to crush the duct behind the appliance. A recessed wall box is an excellent solution for these tight spaces.
How to Clean Your Dryer Vent
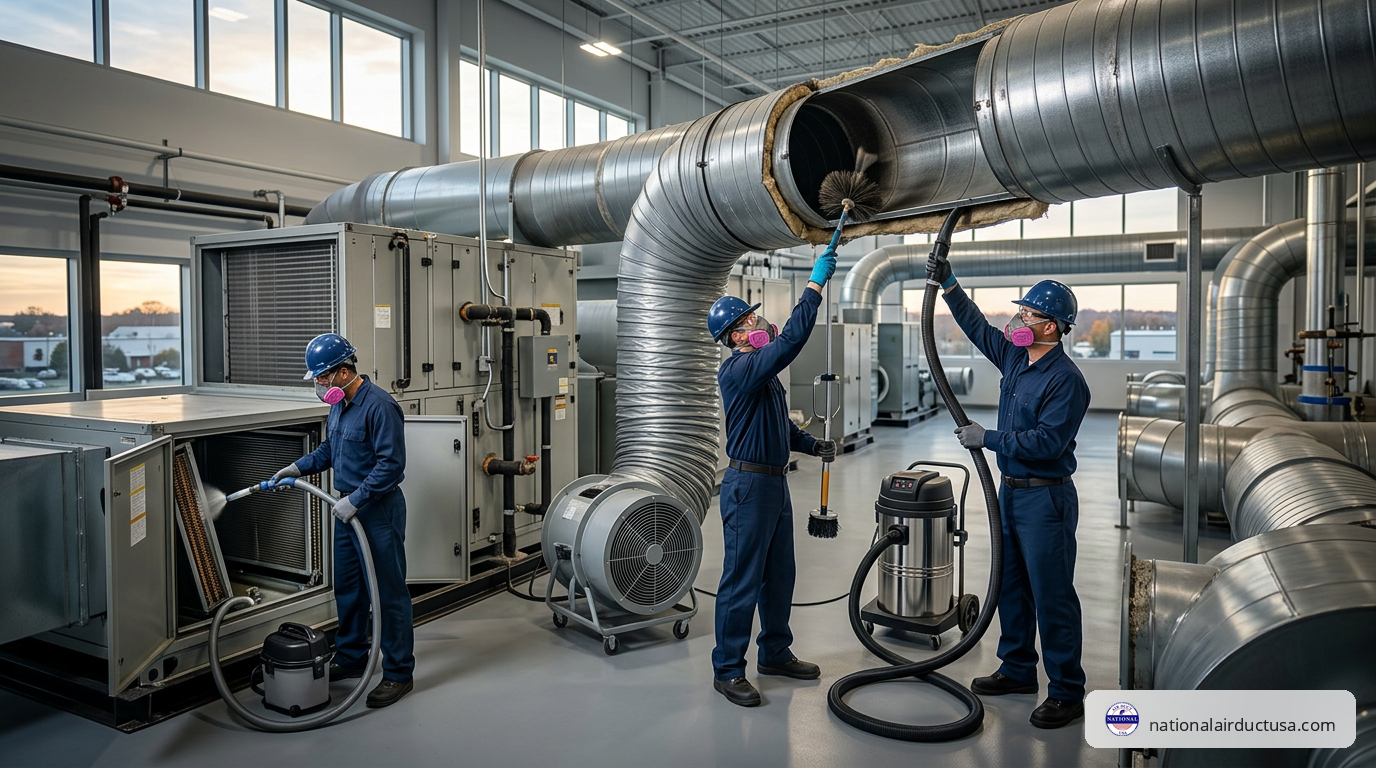
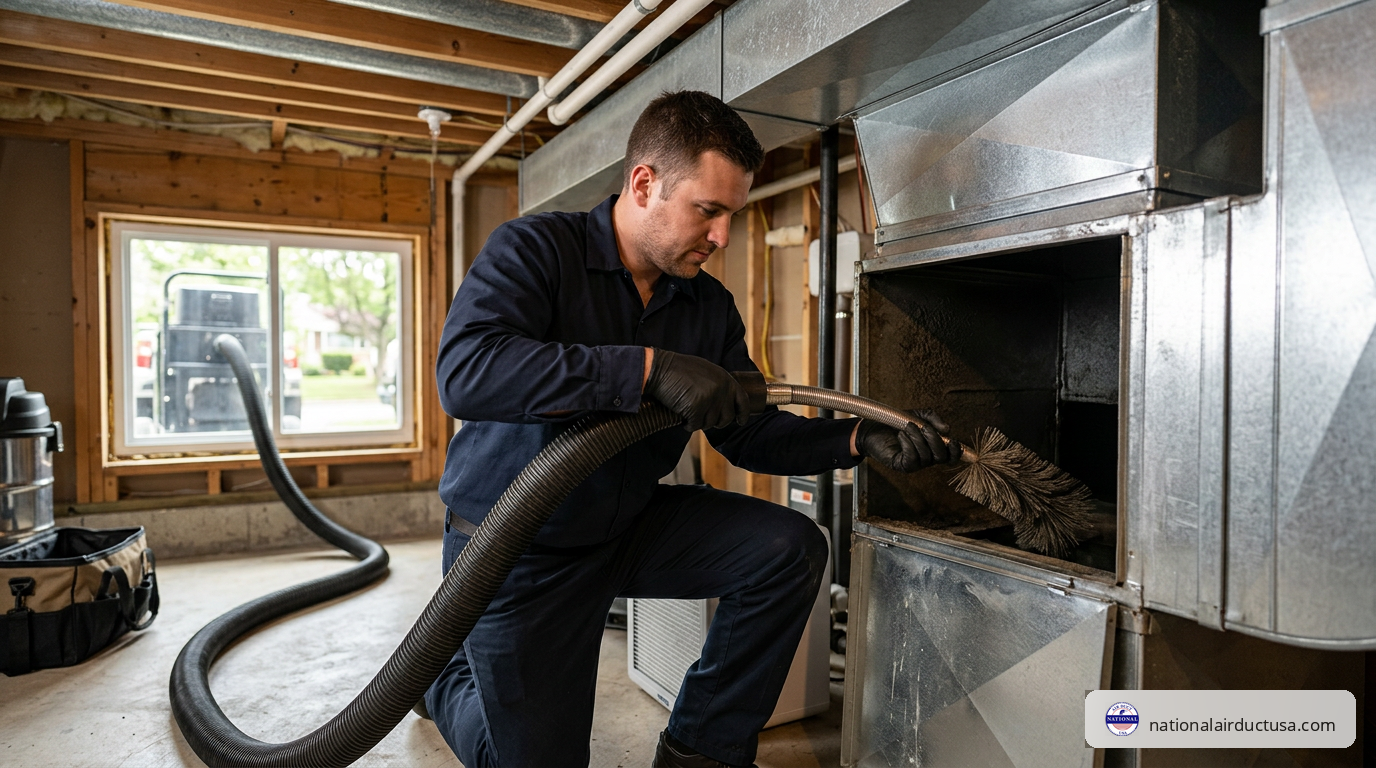
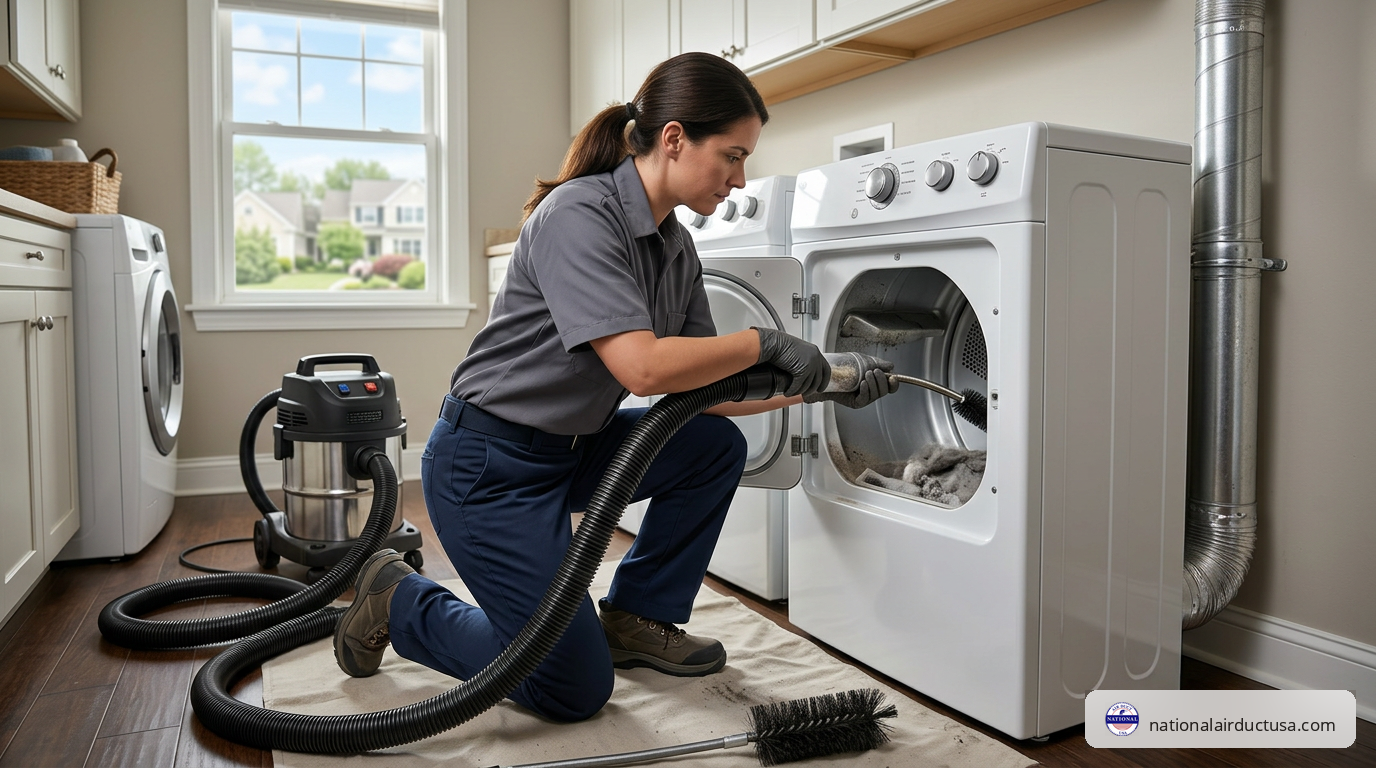
Clean your dryer vent at least once a year, or more often if you have a large family or pets. First, unplug the dryer (and shut off the gas supply if applicable). Pull the dryer away from the wall and disconnect the duct. Use a vacuum to clean lint from the dryer’s exhaust port and the duct opening. Use a dryer vent cleaning kit (a flexible brush attached to a drill) to clean the entire length of the duct run. Finally, check the exterior hood for any blockages like lint or nests and ensure the damper flap moves freely.
DIY vs. Professional Dryer Duct Installation Costs
A DIY installation typically costs $150 to $250 in materials, assuming you have basic tools. Hiring a professional generally costs between $140 to $275, depending on the complexity of the job.
While a simple, straight run can be a DIY project, call a professional for:
- Complex routes: Runs that go through multiple walls or floors.
- Roof venting: This requires specialized knowledge to prevent leaks and water damage.
- Gas dryers: Improper installation poses a carbon monoxide risk, so there is no room for error.
- Peace of mind: If you’re not 100% confident, hiring a pro ensures the job is done safely and to code.
At National Air Duct USA, our NADCA-certified technicians handle dryer duct installation daily. We know the local codes for Long Island, Westbury, and all of Nassau and Suffolk Counties. If you need help, our professional services guarantee a safe and correct installation.
Frequently Asked Questions about Dryer Duct Installation
We get many questions about dryer vents from clients in Hempstead, Hicksville, and across Long Island. Here are answers to some of the most common ones.
Can I vent my dryer into an attic or crawl space?
No, absolutely not. Venting a dryer into any enclosed space like an attic, garage, or crawl space is a major violation of building codes and a serious safety hazard. The expelled moisture will condense, leading to mold, mildew, and wood rot. More importantly, the highly flammable lint will accumulate, creating a severe fire risk. All dryer vents must terminate to the exterior of the home.
What is the maximum allowed length for a dryer duct?
Most building codes, including the IRC, specify a maximum length of 35 feet for rigid metal ducts. However, this length must be reduced for every turn in the system. The standard calculation is to subtract 5 feet for every 90-degree bend and 2.5 feet for every 45-degree bend. A run with two 90-degree elbows, for example, should not exceed 25 feet of straight duct. Always check your dryer manufacturer’s manual for specific recommendations, as they can be even stricter. The goal of your dryer duct installation should always be the shortest, straightest path possible.
Why can’t I use screws or duct tape on my dryer vent?
This is a critical safety point. Here’s why these common items should never be used:
- Screws: The tips of screws protrude into the duct, creating snag points that catch lint. Over time, this buildup can create a dangerous blockage and fire hazard.
- Duct Tape: Despite its name, the adhesive on standard duct tape is not designed to withstand the heat from a dryer. It will degrade and fail, allowing the joints to separate and leak hot, lint-filled air into your walls.
For a safe and durable seal, you must use HVAC-grade metal foil tape on all duct connections. If you’re unsure about your current installation, the certified technicians at National Air Duct USA are here to help ensure your home is safe.
Conclusion
We’ve covered the entire process, from understanding the importance of a proper dryer duct installation to planning, installing, and maintaining your system. A correctly installed vent is about more than just dry clothes—it’s a critical component of your home’s safety and efficiency.
By using rigid metal ducting, sealing joints with foil tape, and keeping the route short and straight, you protect your family from fire, prevent mold-causing moisture, and lower your monthly energy bills. It’s an investment that pays dividends in safety and peace of mind.
While some installations are straightforward, many situations benefit from professional expertise, especially those involving gas dryers, long or complex routes, or roof terminations. If you want the assurance that the job is done perfectly and to code, the NADCA-certified technicians at National Air Duct USA are here to help.
We have installed countless dryer vents throughout Long Island, Westbury, Nassau County, and Suffolk County. We know the local codes, use the right materials, and guarantee our work. For honest, reliable service from local experts, we’re ready to help. Get a free quote for our expert services today! Your family’s safety is worth it.