Why Your Central AC Unit Needs Regular Cleaning
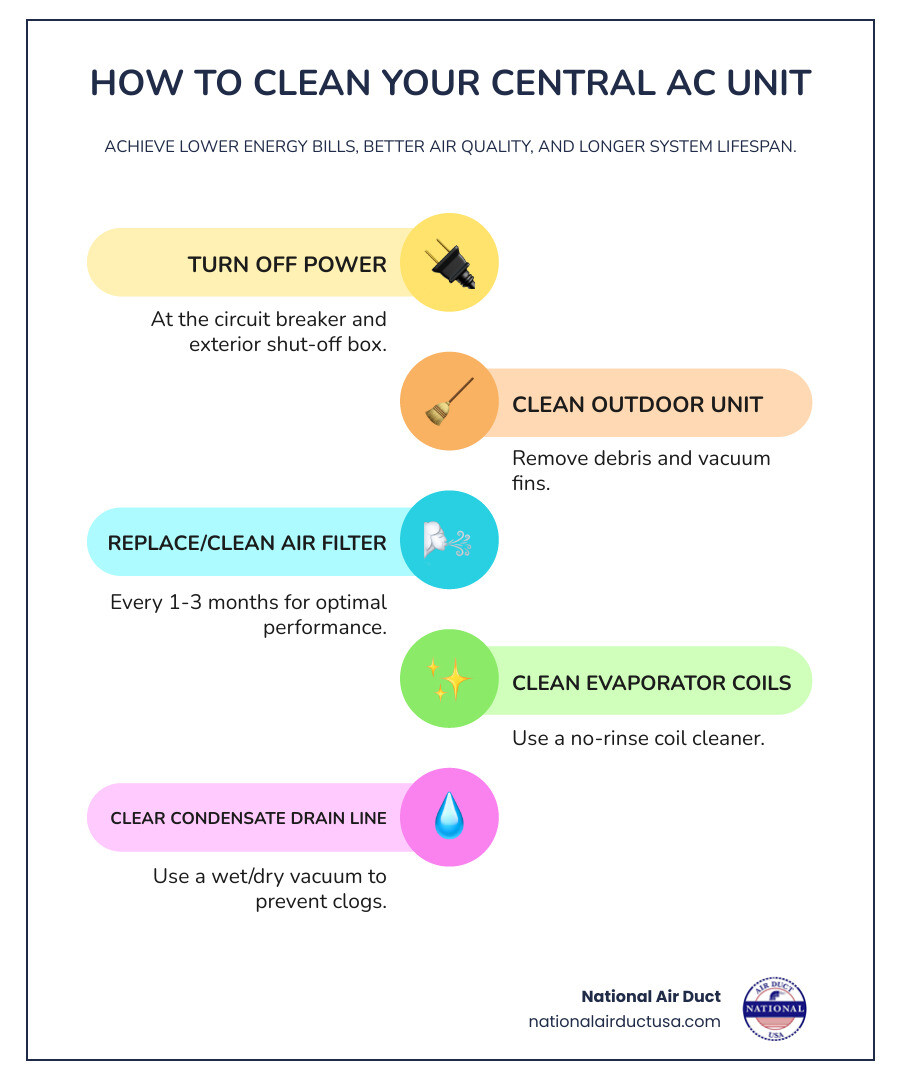
If you want to know how to clean a central ac unit, here’s the quick answer:
- Turn off power at the circuit breaker and exterior shut-off box
- Clean the outdoor unit by removing debris and vacuuming fins
- Replace or clean the air filter every 1-3 months
- Clean evaporator coils with no-rinse coil cleaner
- Clear the condensate drain line with a wet/dry vacuum
A simple air-conditioner cleaning pays off handsomely in comfort and savings. Like any major appliance, your central AC unit needs regular maintenance to perform at its best.
Dirty AC coils and clogged filters force your system to work harder, leading to higher energy bills and potential breakdowns. A clean unit operates more efficiently, lowering cooling bills and improving indoor air quality for your family.
Regular cleaning helps prevent costly repairs by reducing system strain. When dirt accumulates on your AC coils, it acts like a blanket, trapping heat and forcing your system to run longer to keep your home comfortable.
The good news is that most AC cleaning tasks are simple DIY projects. With the right tools and safety measures, you can keep your system running smoothly and avoid expensive service calls.
Why Bother Cleaning? The Big Payoffs for Your Home and Wallet
Is learning how to clean a central ac unit worth your time? Absolutely. Think of AC maintenance like brushing your teeth—skipping it leads to problems later.
Let’s break down why a little elbow grease now saves you big headaches down the road.
Your Energy Bills Are Quietly Climbing
When dirt builds up, dirty coils can’t transfer heat efficiently. Your AC runs longer and works harder to keep your home comfortable.
A dirty condenser coil can cut efficiency by up to 30%, leading to higher energy bills every month. According to the U.S. Department of Energy, maintaining your air conditioner for energy savings should be a top priority.
System Strain Leads to Expensive Surprises
Overworking due to dirty coils and clogged filters stresses every component. The compressor runs hotter, leading to premature breakdowns and costly repairs that could have been prevented.
Skipping regular cleaning can turn a simple maintenance task into a $2,000+ emergency repair when the compressor overheats and fails during a heatwave.
The Air You’re Breathing Isn’t as Clean as You Think
Your AC circulates air throughout your home. Dirty components can become a breeding ground for mold growth and other contaminants.
Poor indoor air quality is especially tough on family members with allergies or asthma. Allergens accumulate on dirty parts and get blown back into your living space.
For homes that need deeper cleaning, professional HVAC system disinfection can address microbial growth that regular maintenance might miss.
Your AC Unit’s Lifespan Depends on It
A well-maintained AC can last 15-20 years, while a neglected one might fail in 8-10. Regular cleaning extends your unit’s lifespan by reducing wear and tear.
A few hours of maintenance twice a year beats spending thousands on a premature replacement, all while you enjoy better comfort and air quality.
Getting Started: Essential Safety Precautions and Tools
Before learning how to clean a central ac unit, safety is the top priority. Working with electrical equipment is manageable with the right precautions.
Your AC is a powerful electrical appliance. Its high voltage and spinning fan blades can cause serious injury, so safety first is essential. The golden rule is to never work on an AC unit while it has power. Electrical hazards are serious.
Step 1: Turn Off the Power
Your AC must be powered down in two locations for safety.
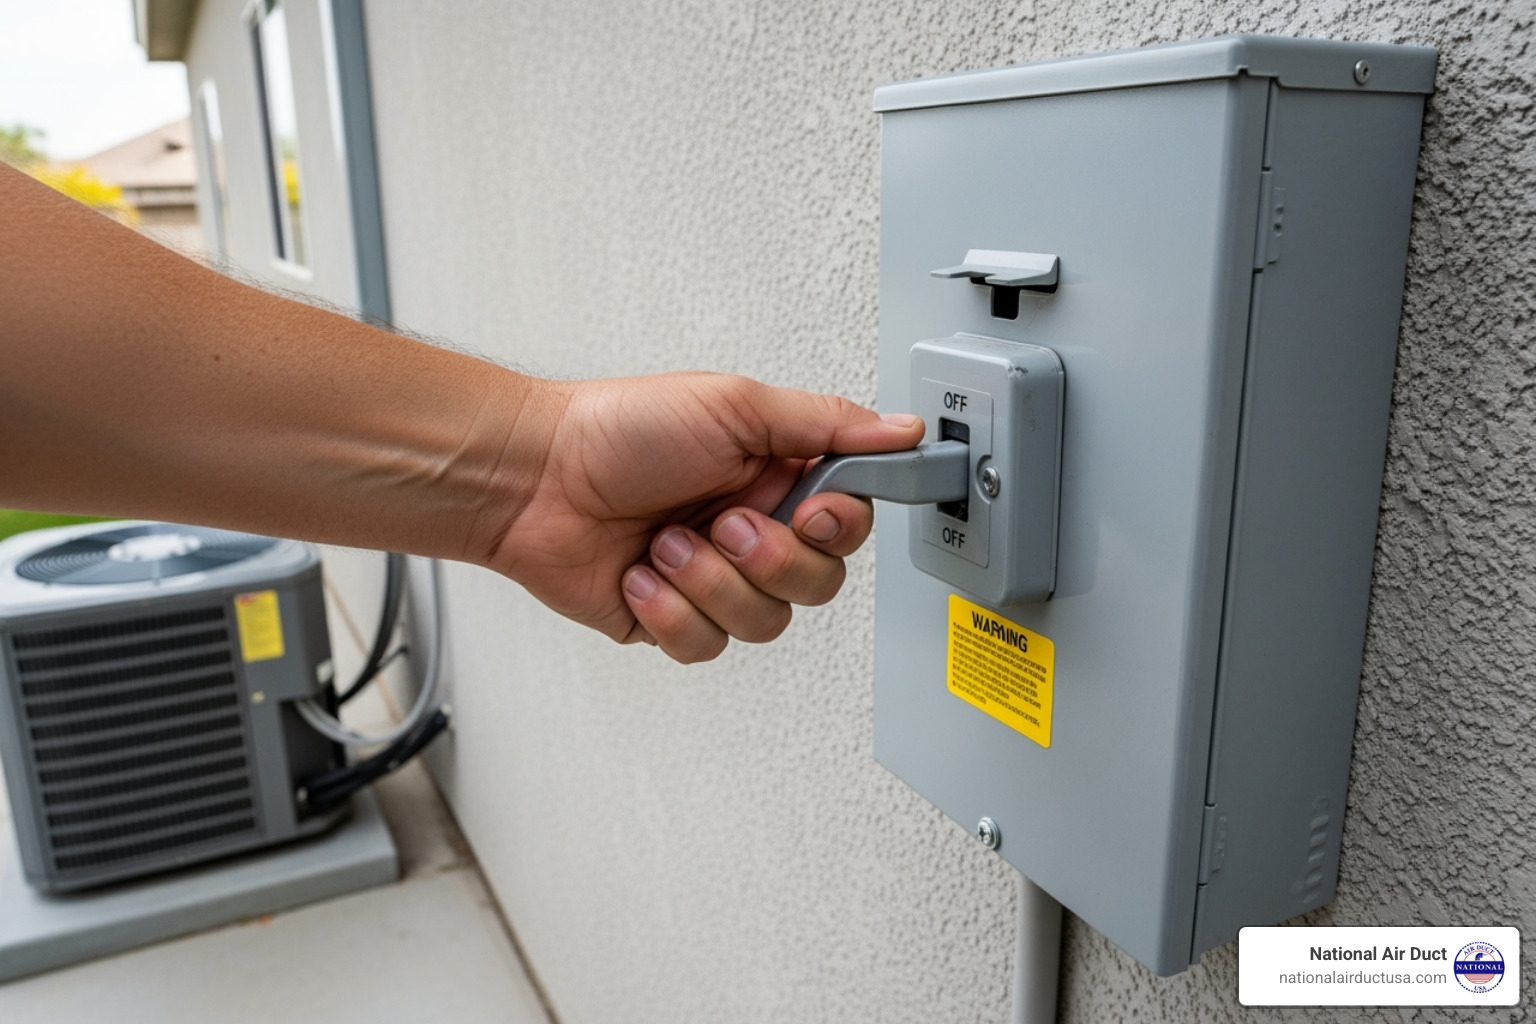
First, find the exterior shut-off box, usually a gray metal box on the wall near your outdoor condenser. Use its switch or pull-out handle to cut power to the outdoor unit. You can see an example of an HVAC Unit On/Off Switch for reference.
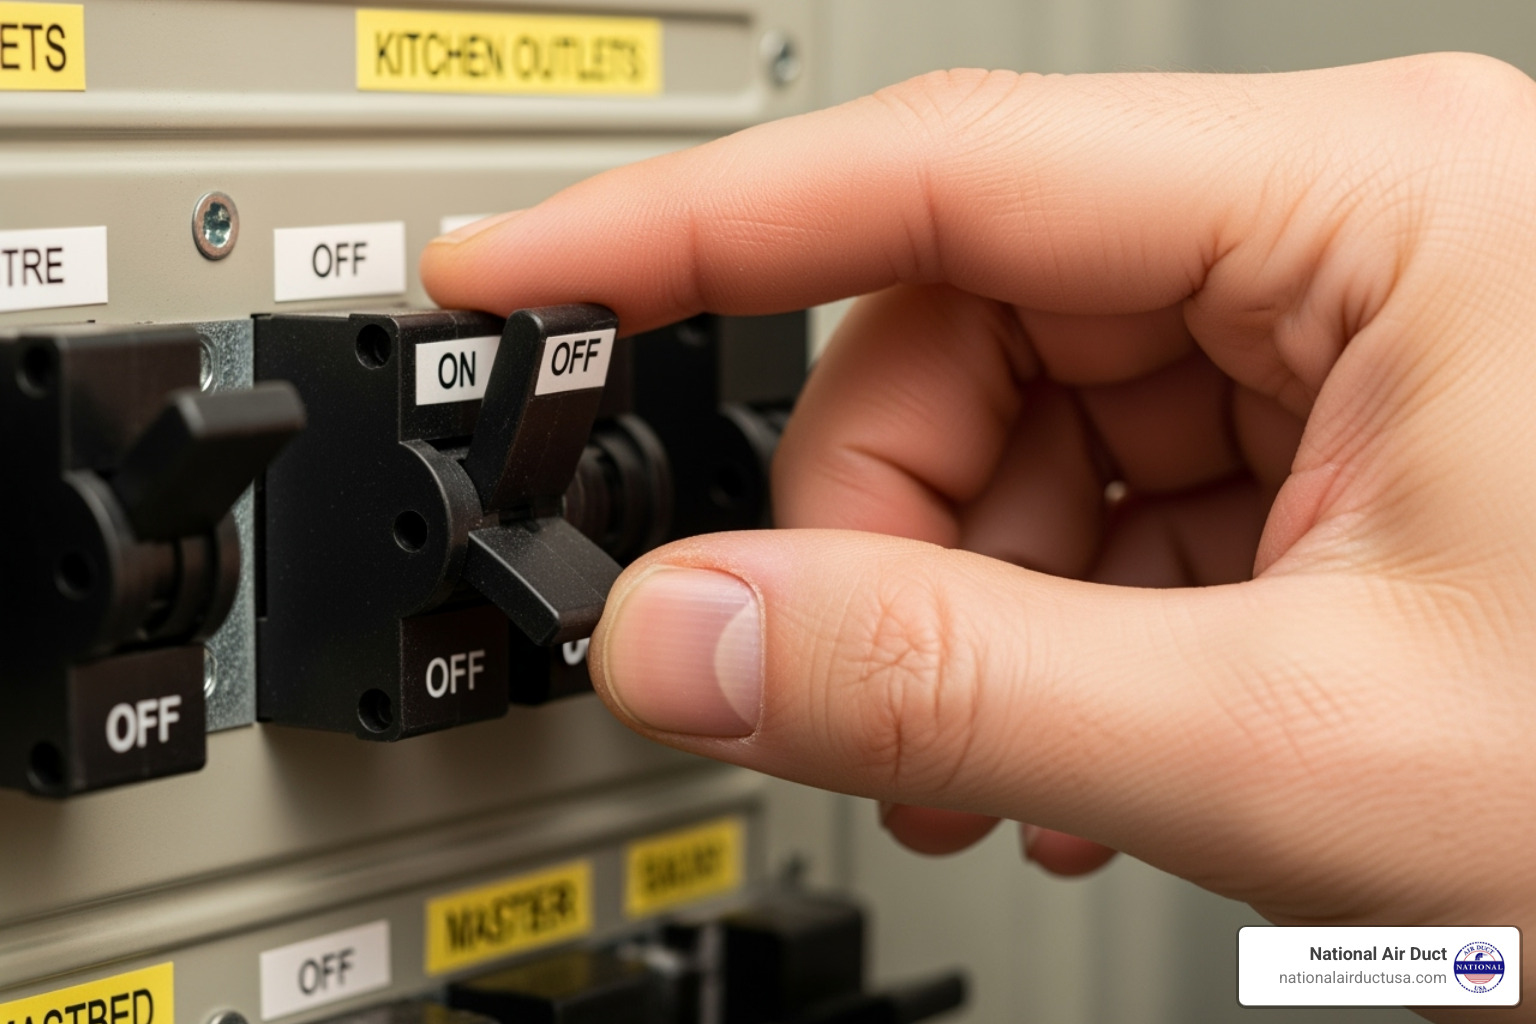
Next, go to your circuit breaker panel (often in a basement or garage) and flip the breaker labeled “AC” or “HVAC” to the off position. This cuts all power to the system.
Pro tip: If power is off for over four hours, wait 24 hours after restoring it before running the AC. This allows the compressor’s lubricant to warm up properly.
To verify power is off, set your thermostat to cool. If nothing happens, you’re safe to proceed.
Now, gather your tools. Having the right equipment makes the job much easier.
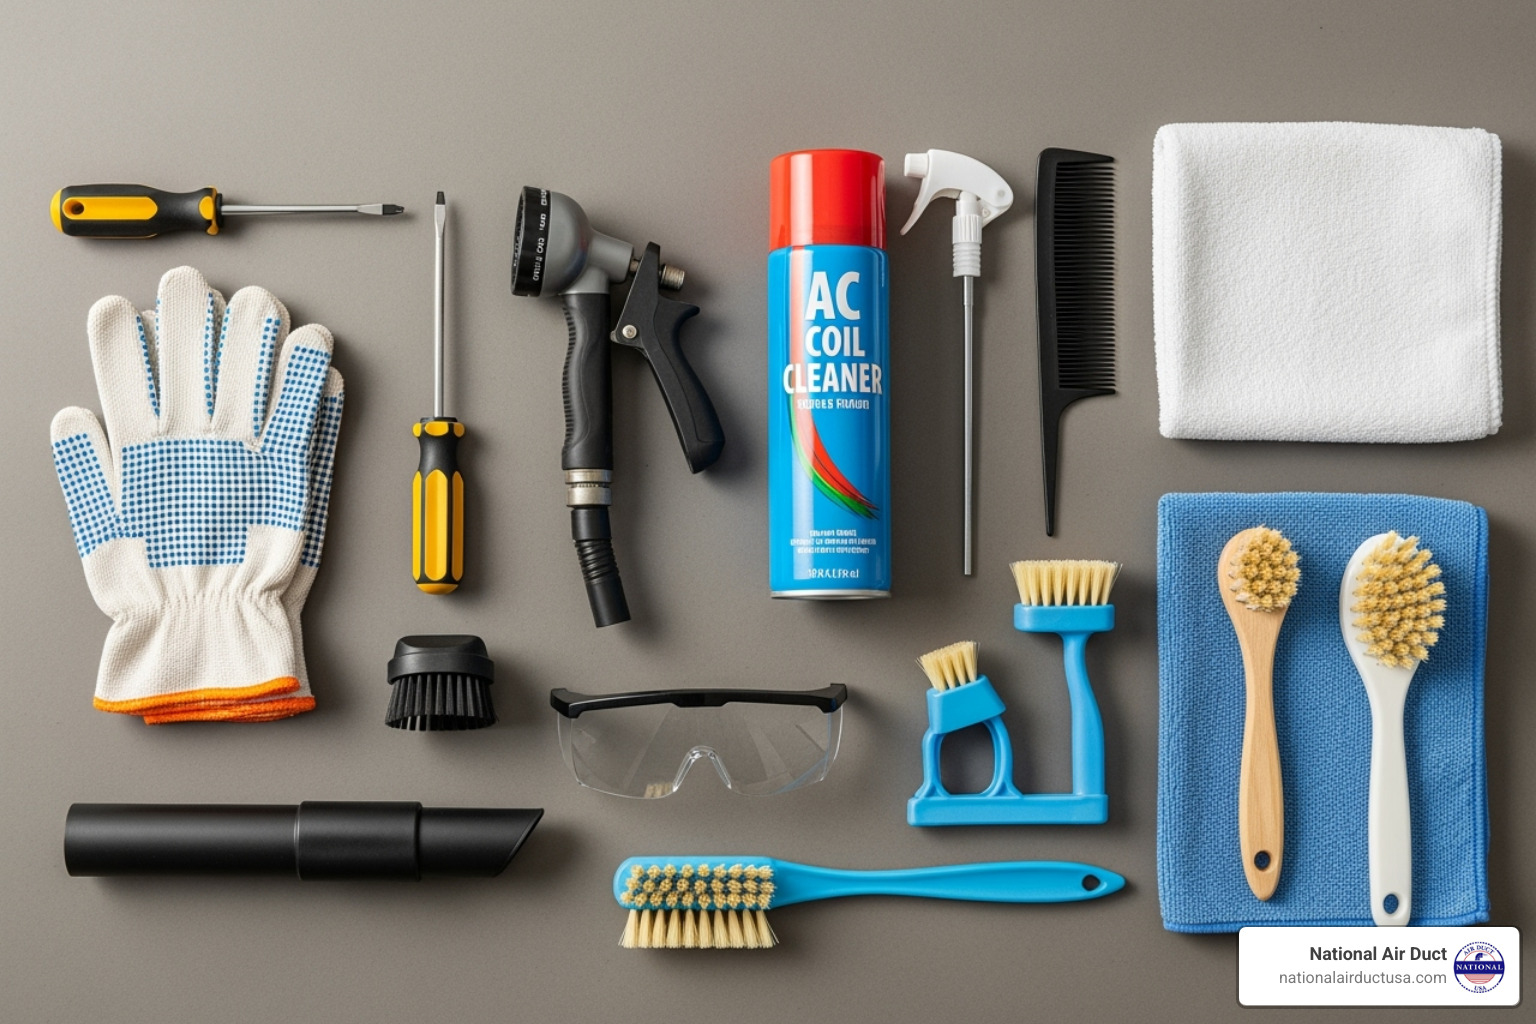
You will need a screwdriver set, a garden hose with spray nozzle (not a pressure washer), AC coil cleaner (no-rinse is easiest), a fin comb (or butter knife), work gloves, safety glasses, a wet/dry vacuum with a brush attachment, a soft brush, unscented bleach, and clean cloths.
Part 1: A Step-by-Step Guide on How to Clean a Central AC Unit’s Outdoor Condenser
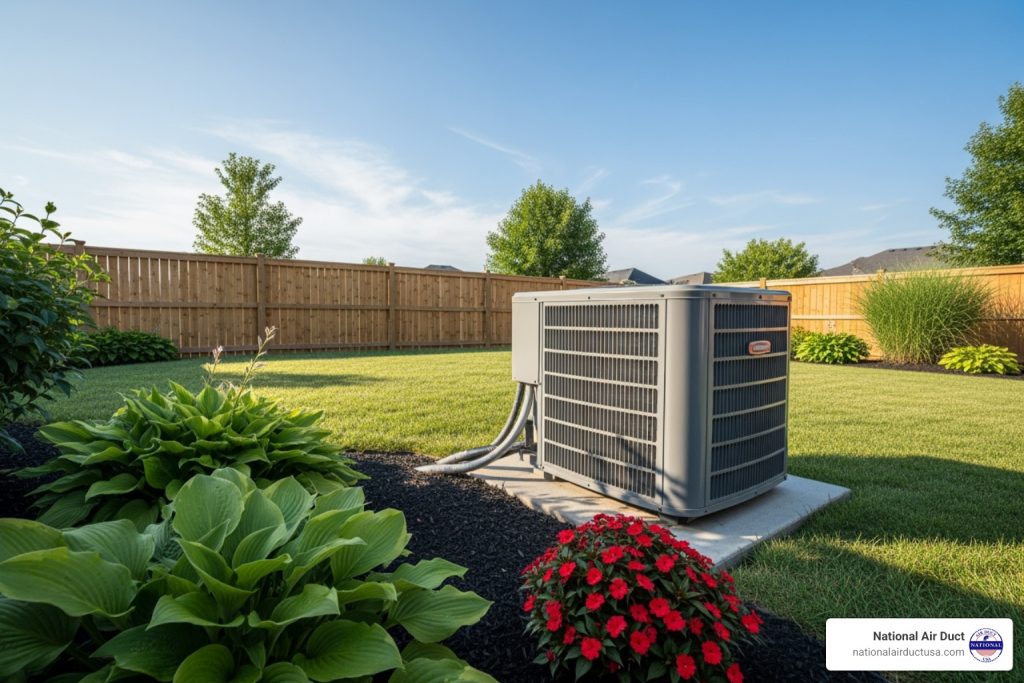
Your outdoor condenser unit’s job is to release heat pulled from your house. It uses fins and coils, much like a car’s radiator. When these fins and coils get clogged with debris, heat can’t escape. This forces your system to work overtime, raising your energy bills.
Annual cleaning is your best defense against this. Clean it each spring, and check for debris after storms. A few hours of work can prevent mid-summer breakdowns and save on energy costs.
For more comprehensive information about maintaining your entire system, you can find more info about unit cleaning on our services page.
Step 2: Clear Debris and Clean the Fins
With safety gear on and power off, it’s time to clean the condenser.
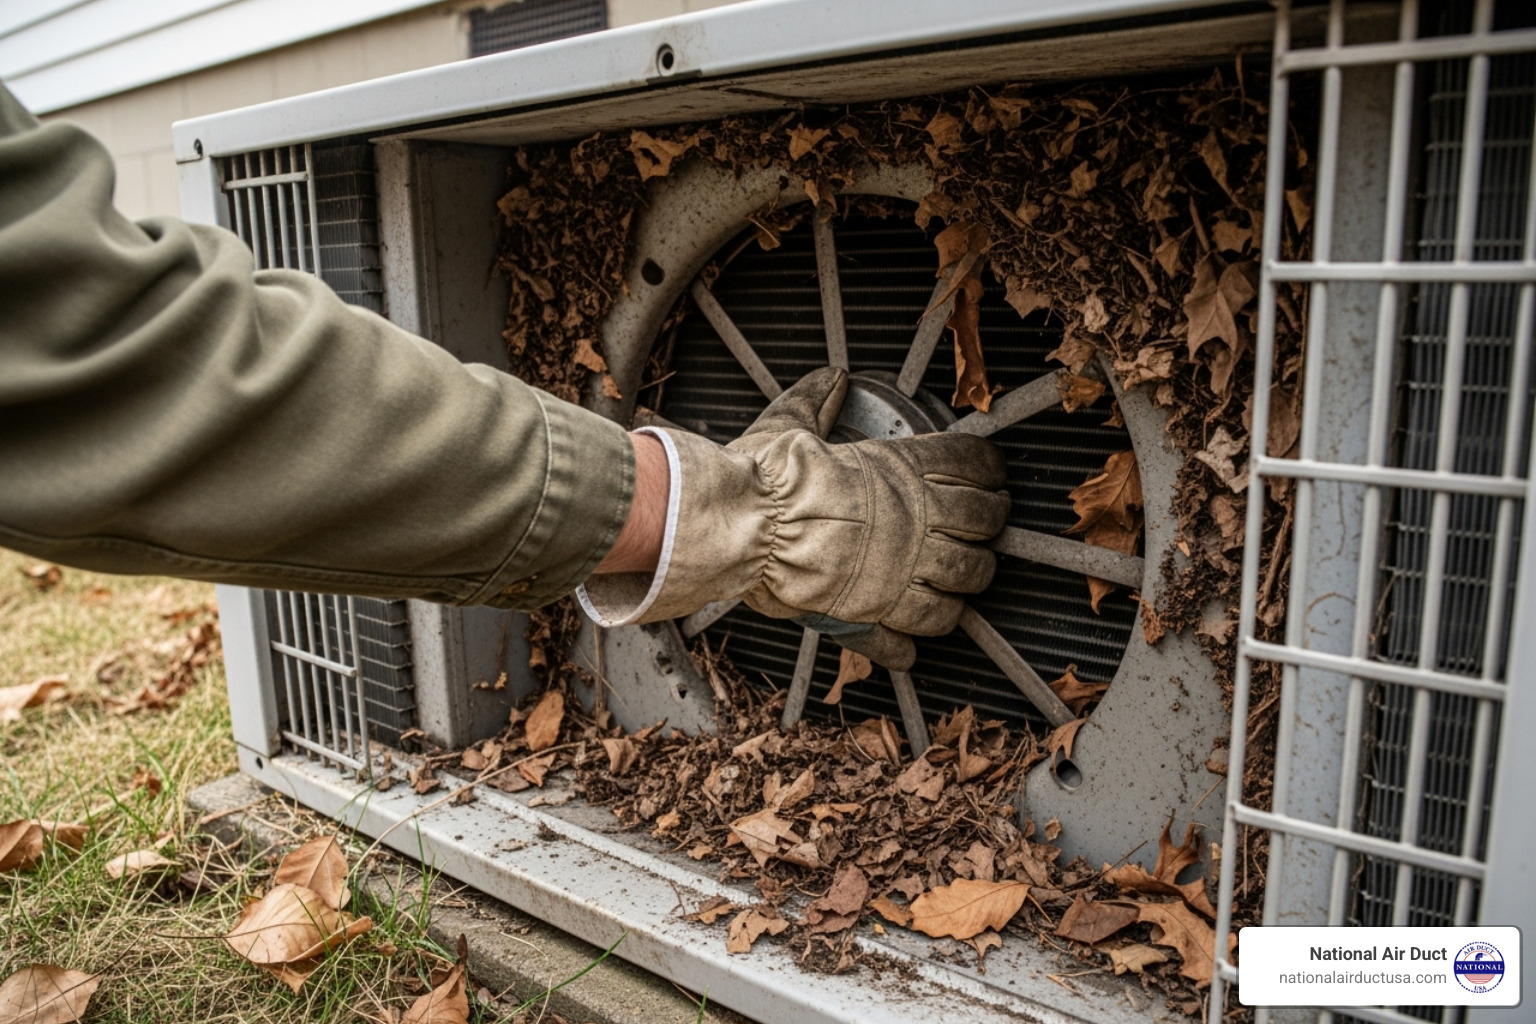
First, remove large debris like leaves and twigs. To get inside, carefully unscrew and remove the top fan cage or grille. Be gentle, as the fan motor will have wires attached. Inside, use your wet/dry vacuum with a brush attachment to remove all debris.
The delicate fins are crucial for heat exchange. Vacuum them gently from top to bottom with a soft brush attachment, taking care not to bend them.
For the garden hose, spray from the inside out to push debris away from the unit. Use a strong spray, but never use a pressure washer, as it will damage the delicate fins.
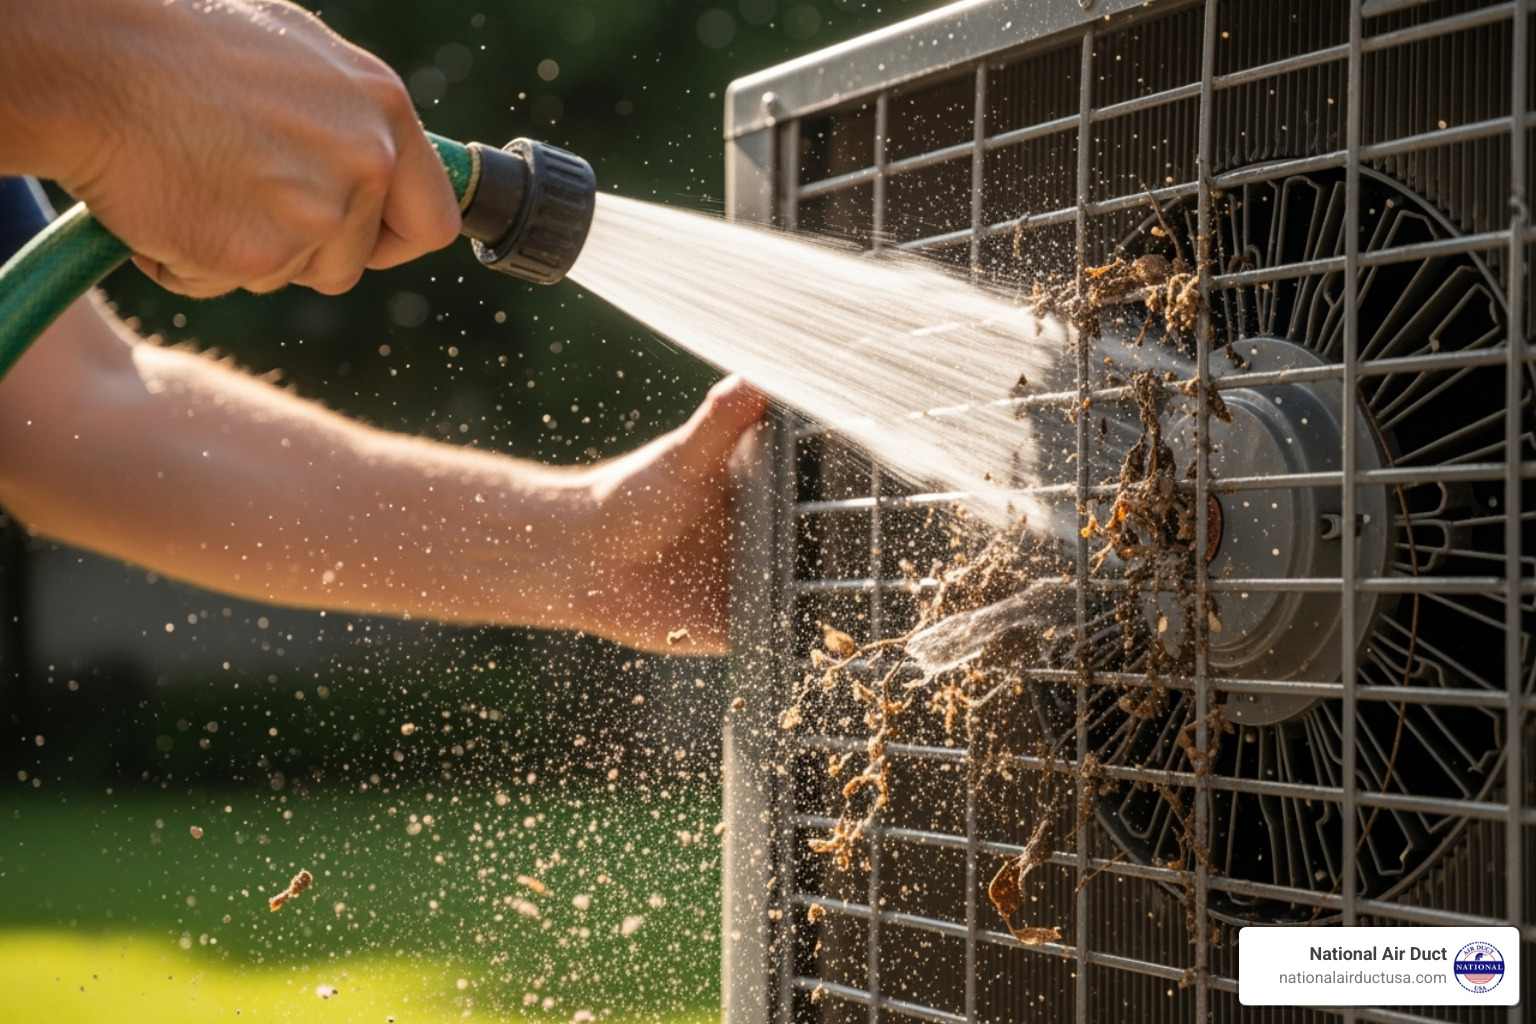
For stubborn grime, use a commercial, no-rinse coil cleaner. Follow the manufacturer’s directions, letting it sit for 10-15 minutes before rinsing if required. Wear safety glasses and gloves.
Step 3: Straighten the Fins and Level the Unit
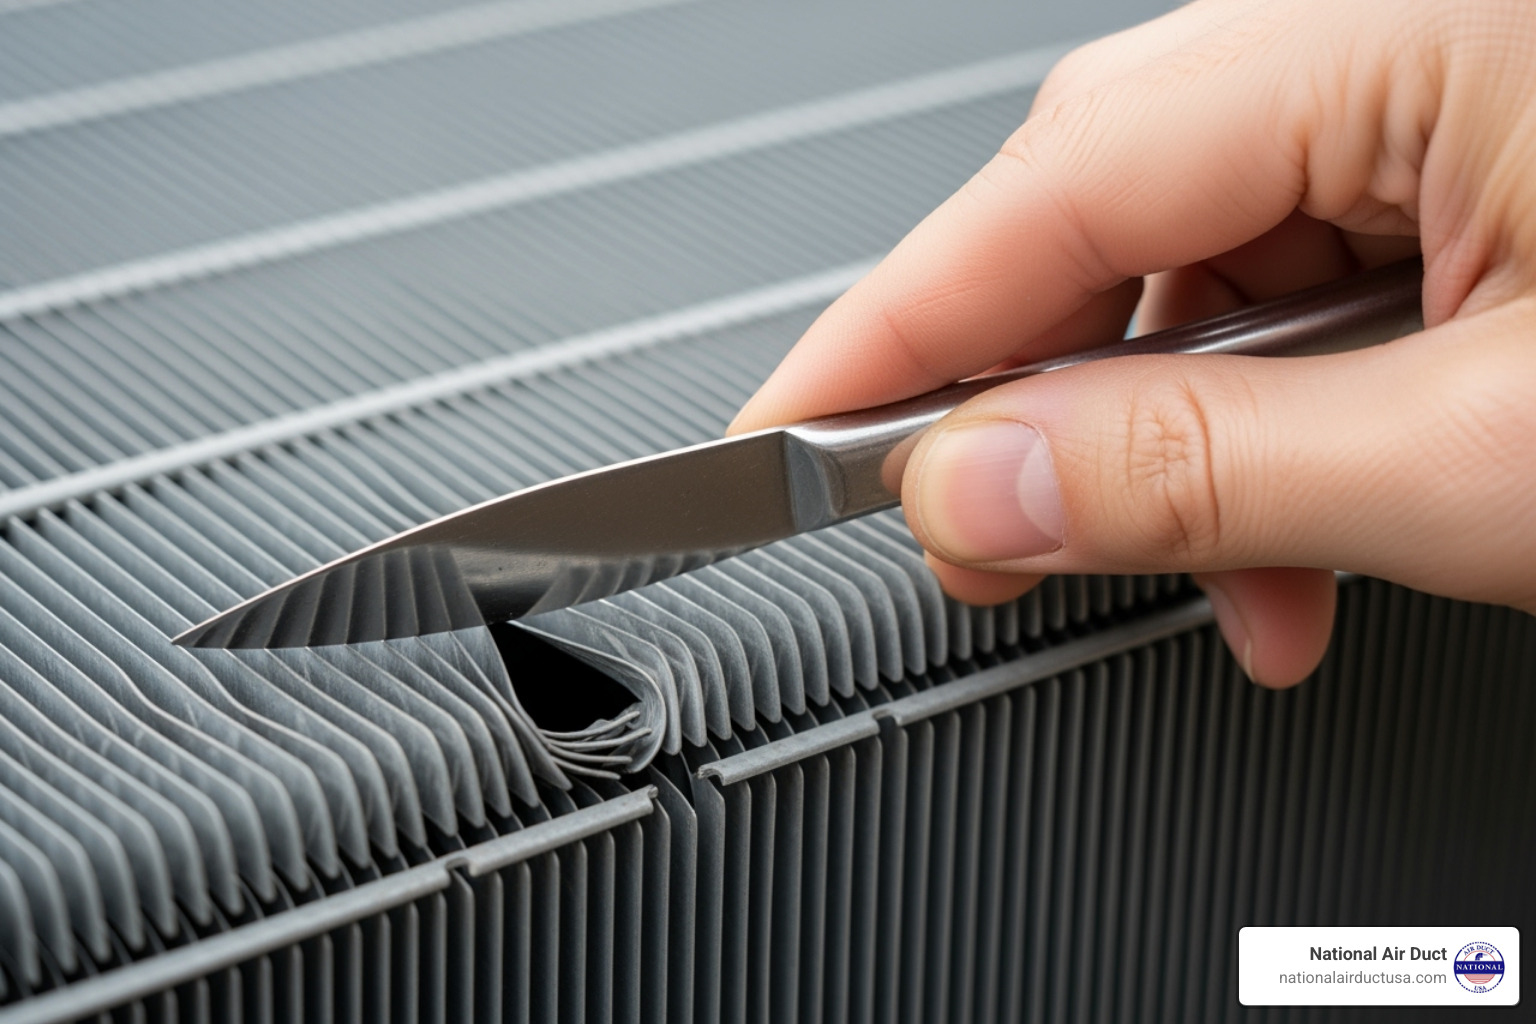
It’s normal to find some bent fins after cleaning. These thin aluminum fins are delicate, and even a few bent ones can block airflow and reduce efficiency.
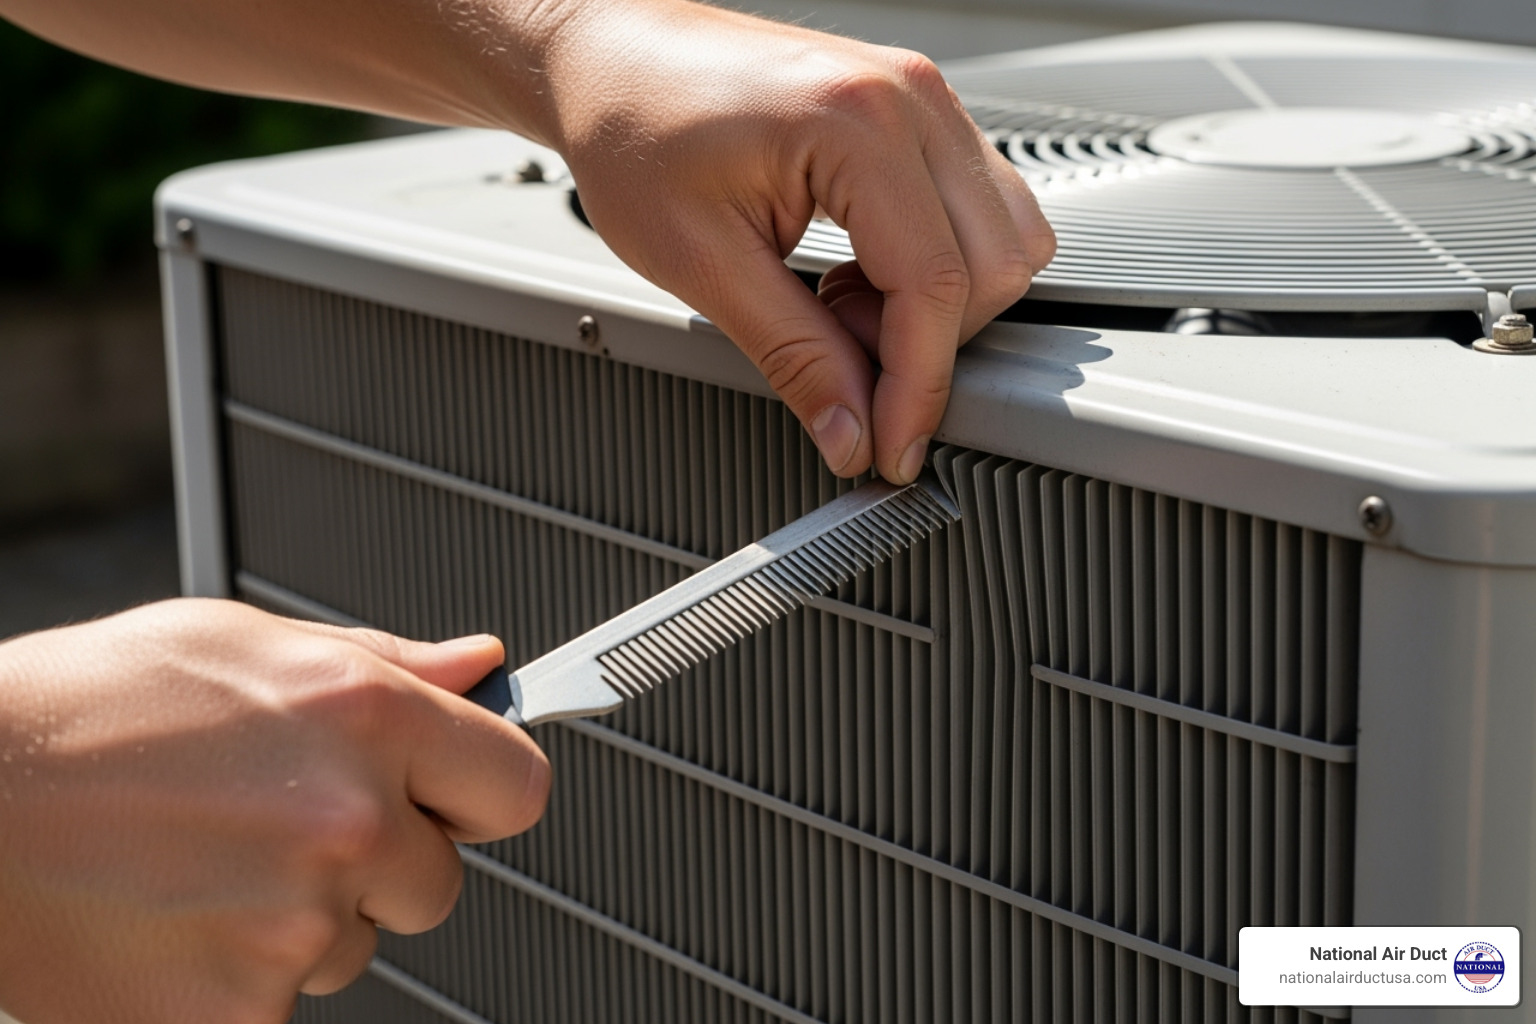
A fin comb is the best tool for straightening fins. A butter knife can also work as a fin-straightening tool, but be careful not to puncture the tubing behind them. Use gentle pressure and work slowly. Aim for improvement, not perfection.
Clear the surrounding area, ensuring at least 18-24 inches of clearance on all sides. Trim bushes and remove anything that restricts airflow.
Finally, check if the unit is level. A tilted unit can stress the compressor, leading to premature failure. Most units should be perfectly level, but check your owner’s manual. If it’s not level, use rot-resistant shims to adjust it and prevent costly compressor damage.
Reattach the fan cage securely. Don’t turn the power back on yet, as we still need to clean the indoor components.
Part 2: Tackling the Indoor AC Components
With the outdoor unit clean, it’s time to address the indoor components, which cool and dehumidify your home’s air. The indoor system includes the evaporator coil (absorbs heat), blower motor (circulates air), condensate drain line (removes moisture), and the air filter (traps debris).
Dirty indoor components lead to reduced cooling, stuffy air, and potential water damage. Fortunately, cleaning them is a straightforward DIY task.
For more detailed information about keeping these critical components in top shape, you can explore our page on coil cleaning.
Step 4: How to Clean a Central AC Unit’s Filter
Your air filter is the unsung hero, catching dust, pollen, and dander. Regularly changing or cleaning your filter is the easiest, most impactful step in learning how to clean a central ac unit.
Find your filter either in the return air duct near the indoor air handler or behind a return air grille. Check your owner’s manual if you can’t locate it.
Most homes use disposable filters; replace them, don’t wash them. If you have a washable filter, clean it with a vacuum and a mild water/vinegar solution. Ensure it’s completely dry before reinstalling to prevent mold.
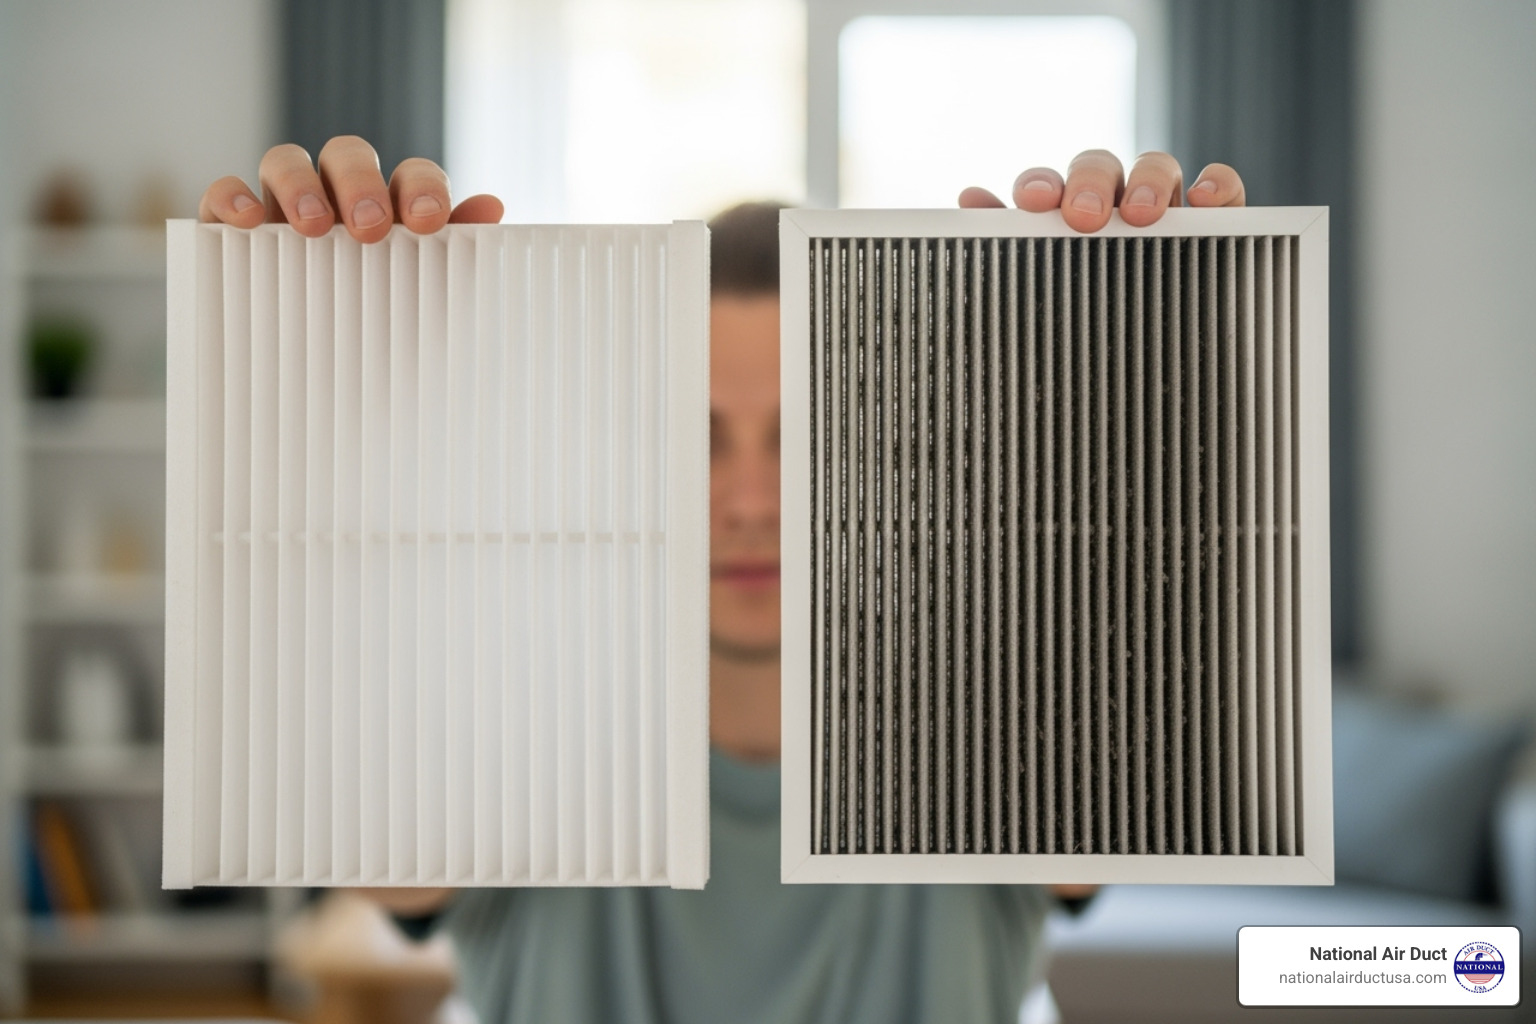
Our rule: check your filter monthly and change or clean it every 1-3 months. Change it more often if you have pets or live in a dusty area. Most filters need to be replaced at least twice a year, but monthly checks are best. Signs of a dirty filter include visible dirt, weaker airflow, higher energy bills, or more dust on furniture.
Use the MERV rating recommended by your system’s manufacturer. A filter with too high a rating can restrict airflow and cause your indoor coil to freeze.
Step 5: Clean the Evaporator Coil and Drain Line
The evaporator coil absorbs heat from your indoor air. It can get dirty, especially with infrequent filter changes.
Ensure the power to the indoor air handler is off at the breaker. Then, remove the access panel on the air handler to access the evaporator coil. Gently clean the coil’s fins with a soft brush or vacuum attachment to remove loose dust.
For a deeper clean, spray the evaporator coil with a no-rinse coil cleaning spray. The cleaner will break down grime and drip into the drain pan.
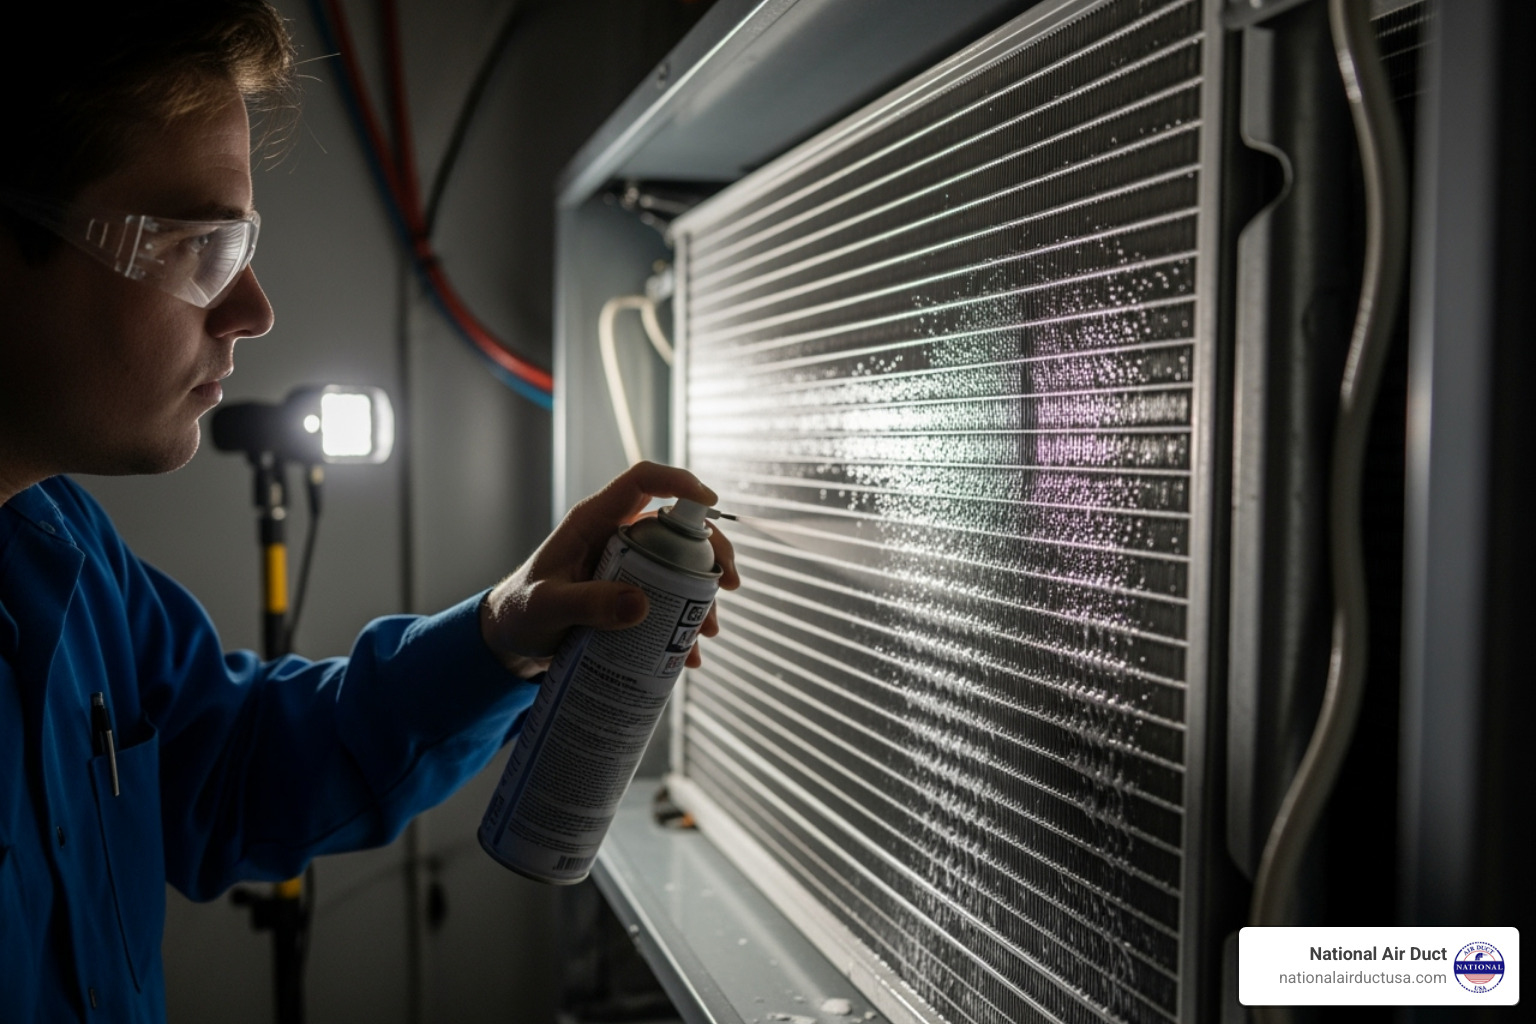
Clean the drain pan below the coil with soapy water or a mild bleach solution. Use a drain pan tablet to prevent future algae and mold growth.
The condensate drain line removes moisture. If it clogs, water can back up, shut down your unit, or cause flooding. Use a wet/dry vacuum on the exterior end of the drain line to suck out any blockages.
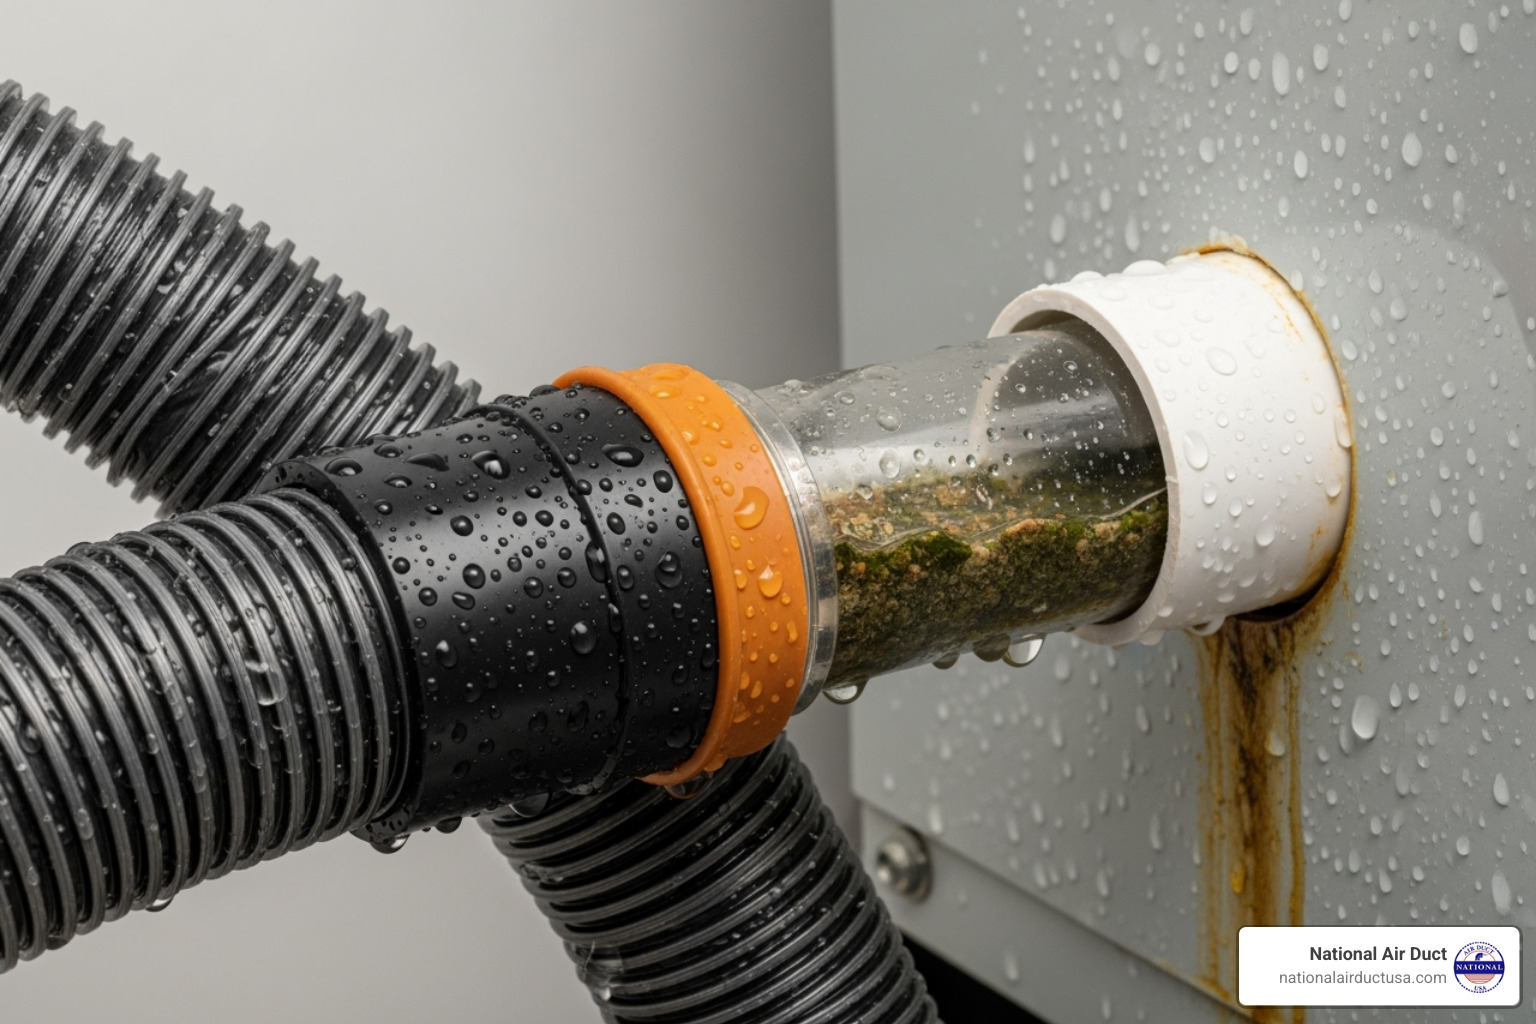
You can also pour a 50/50 bleach and water solution down the drain port near the air handler. Use a stiff wire for stubborn clogs. Replace the access panel securely once you’re finished.
Beyond DIY: When to Call an HVAC Professional
While this guide on how to clean a central ac unit covers DIY maintenance, some jobs require a professional HVAC technician. Knowing when to call for help is key.
When DIY Reaches Its Limits
Refrigerant leaks require a licensed technician. Refrigerant is a hazardous chemical, and leaks can signal serious issues like compressor failure.
Electrical issues like faulty wiring or burned connections are not a DIY job. HVAC systems use high-voltage circuits that are dangerous to work with.
Major component failures, such as a dead compressor or a seized fan motor, require professional diagnosis and specialized equipment.
The Bigger Picture: Professional Maintenance Plans
Annual professional maintenance plans are a smart investment. A yearly tune-up before cooling season can catch problems early. A professional tune-up includes a thorough coil cleaning, checking refrigerant levels, inspecting electrical connections, lubricating moving parts, and verifying overall system efficiency.
Professional tune-ups complement your DIY cleaning by handling the more technical tasks. For comprehensive solutions that go beyond basic cleaning, you can explore more info about our HVAC repair services.
Choosing the Right Professional
When choosing a pro, look for NADCA certification. National Air Duct USA provides NADCA-certified services that meet these strict standards.
A properly running air conditioner affects your comfort, health, and energy bills. Call a professional for anything beyond basic cleaning. Knowing your limits can save you thousands in the long run.
Frequently Asked Questions about Central AC Cleaning
Here are answers to common questions about how to clean a central ac unit.
How often should I clean my central AC unit?
Annual cleaning is the baseline. Clean your outdoor and indoor units thoroughly once a year, preferably in the spring.
However, factors like heavy pollen or cottonwood trees may require more frequent cleaning, as they can clog condenser fins quickly. If you have pets, the extra pet dander means you’ll need to clean more often. Dusty environments or high-pollen areas also require more frequent cleaning.
The easiest habit is to check your filter monthly. This prevents debris from reaching the coils. Change it every 1-3 months, or more often as needed.
How does a clean AC unit improve indoor air quality?
A clean AC unit is highly effective at reducing allergens like dust, pollen, and pet dander in your home. A clean filter traps particles, while clean coils prevent the buildup of dust and debris that can harbor bacteria.
A key benefit is preventing mold and mildew growth. A clean evaporator coil and system removes dust and debris instead of recirculating it.
A clean system circulates cleaner air, which is especially beneficial for family members with allergies or respiratory issues.
For an even deeper clean, consider professional air duct sanitizing services that tackle the complete pathway of air in your home.
What are the signs my AC needs a professional, not just a DIY cleaning?
Recognize when to call a pro to avoid costly repairs. Here are the key signs:
- Loud or unusual noises like grinding, squealing, or banging require professional attention.
- Poor cooling performance, such as the unit running constantly but not cooling, points to issues like low refrigerant or compressor problems that need a pro.
- Ice on coils is a sign of serious trouble, indicating restricted airflow or low refrigerant. This requires an expert.
- Frequent cycling (short-cycling) suggests thermostat or mechanical problems that need professional troubleshooting.
- An unexplained rise in energy costs often indicates an efficiency problem that requires professional diagnosis.
- Persistent musty, burning, or chemical odors require immediate professional investigation.
Conclusion
Now you know how to clean a central ac unit, from the outdoor condenser to the indoor components. These manageable steps can make a huge difference for your home.
Think of AC cleaning as preventive medicine for your cooling system. This simple maintenance helps avoid expensive emergency repairs during peak summer heat.
The payoff is immediate: lower energy bills, improved indoor air quality, and an extended lifespan for your AC unit, one of your home’s most expensive appliances.
Safety always comes first: turn off the power, wear protective gear, and take your time. For issues beyond basic cleaning, call a professional.
Your AC unit works hard all summer. A little annual TLC ensures it provides reliable comfort when you need it most.
When you want to go beyond DIY, consider a professional HVAC system disinfection service for a deep, comprehensive clean.
Stay cool, knowing your AC is ready for summer!

