Why a Clean AC Keeps Your Home Cool and Bills Low
How to clean house air conditioner units properly can save you hundreds of dollars on energy bills while keeping your family breathing cleaner air. Regular AC maintenance isn’t just about comfort – it’s about protecting your wallet and your health.
Quick Guide: How to Clean Your House Air Conditioner
- Turn off power at the circuit breaker and outdoor disconnect
- Replace or clean filters every 1-3 months (check monthly)
- Clear debris from around outdoor unit (maintain 2-3 foot clearance)
- Vacuum condenser fins with soft brush attachment
- Spray coils with garden hose from inside out (never use pressure washer)
- Straighten bent fins with fin comb
- Clear condensate drain with stiff wire if clogged
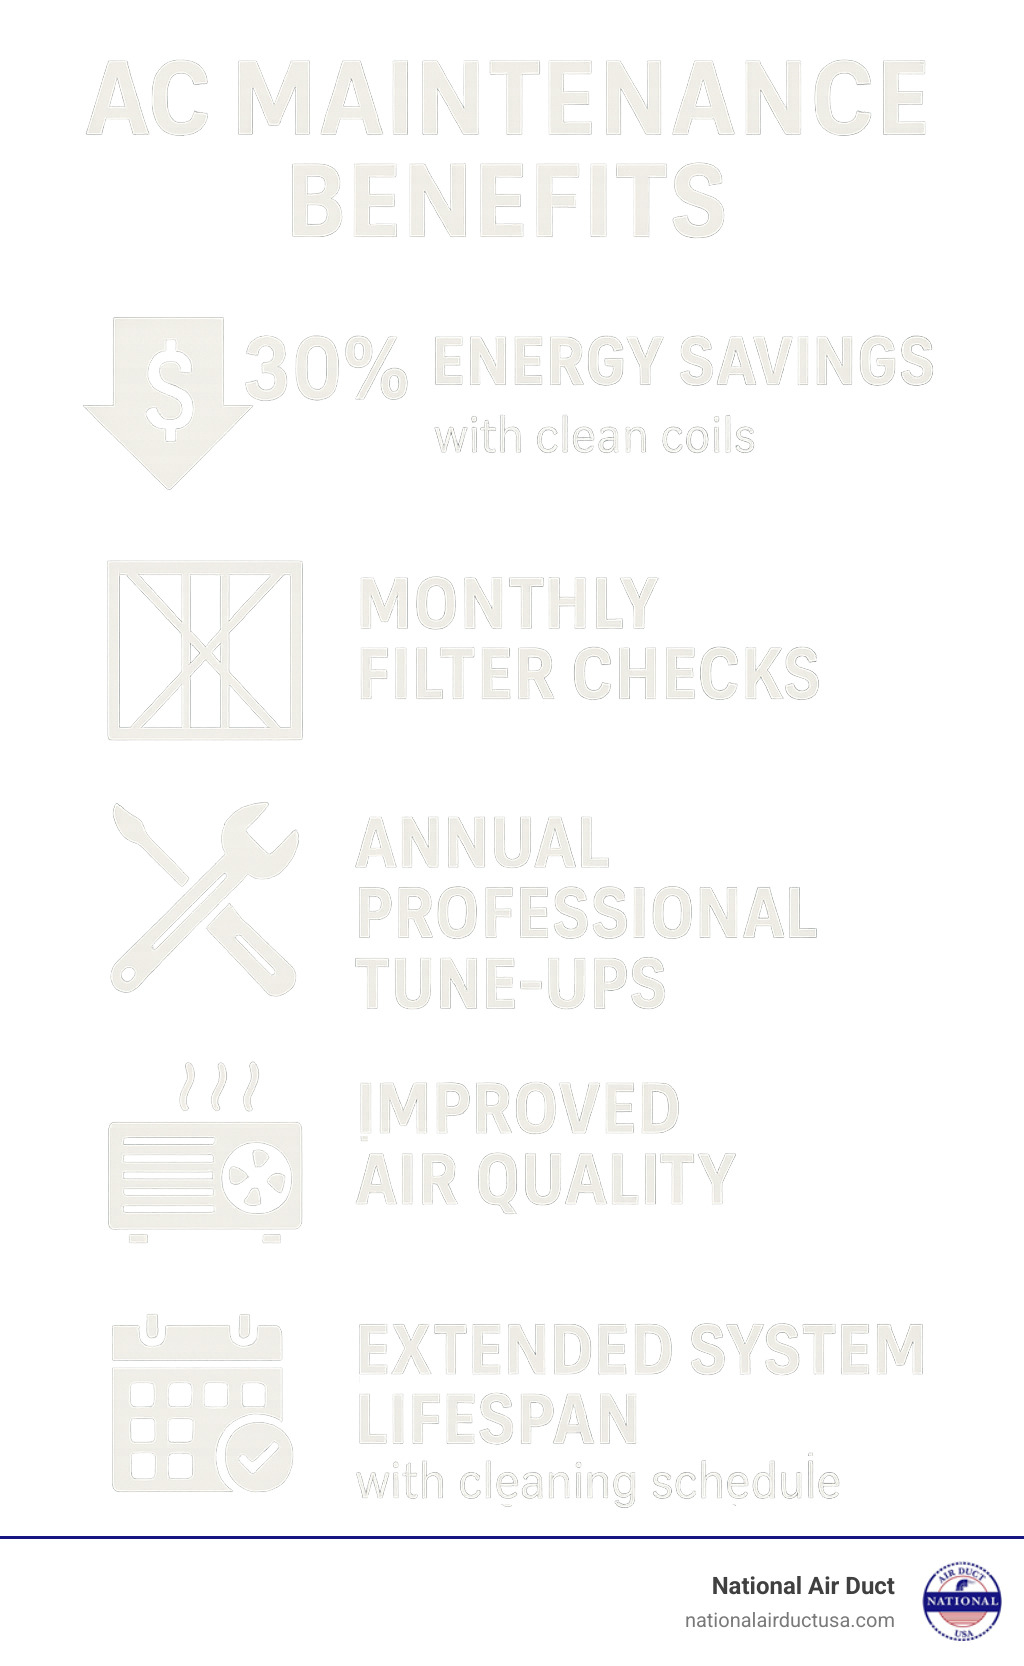
A clean air conditioner uses up to 30% less energy than a dirty one. That translates to real savings on your monthly utility bills. Plus, clean systems last longer and provide better indoor air quality for your family.
Signs Your AC Needs Cleaning:
- Higher energy bills than last year
- Musty or mildew smells from vents
- Reduced cooling performance
- Ice formation on coils
- Visible dust or debris on outdoor unit
The U.S. Department of Energy suggests families can cut energy bills by 20% to 30% through proper equipment maintenance. When coils get dirty, your system works harder to move air and maintain comfortable temperatures.
But here’s the thing – while basic cleaning helps, some jobs require professional expertise. Refrigerant issues, electrical problems, and deep sanitization need trained technicians with specialized equipment.
Gearing Up: Tools and Safety First
Before we jump into the fun part of how to clean house air conditioner units, let’s talk about keeping ourselves safe. Think of this as suiting up for a mission – one that’ll save you money and keep your family comfortable all summer long.
Safety isn’t just a suggestion here; it’s absolutely essential. Your first step is turning off the power completely. Start by switching your thermostat to “off.” Then head to your electrical panel (usually tucked away in the basement, garage, or utility room) and find the circuit breaker that controls your air conditioner. Flip it to the “off” position.
But wait – there’s more! Most central air systems have an outdoor disconnect box near the condenser unit. Make sure that’s switched off too. This double-check prevents any surprise start-ups while you’re working. Trust us, you don’t want any shocking experiences during your cleaning session.
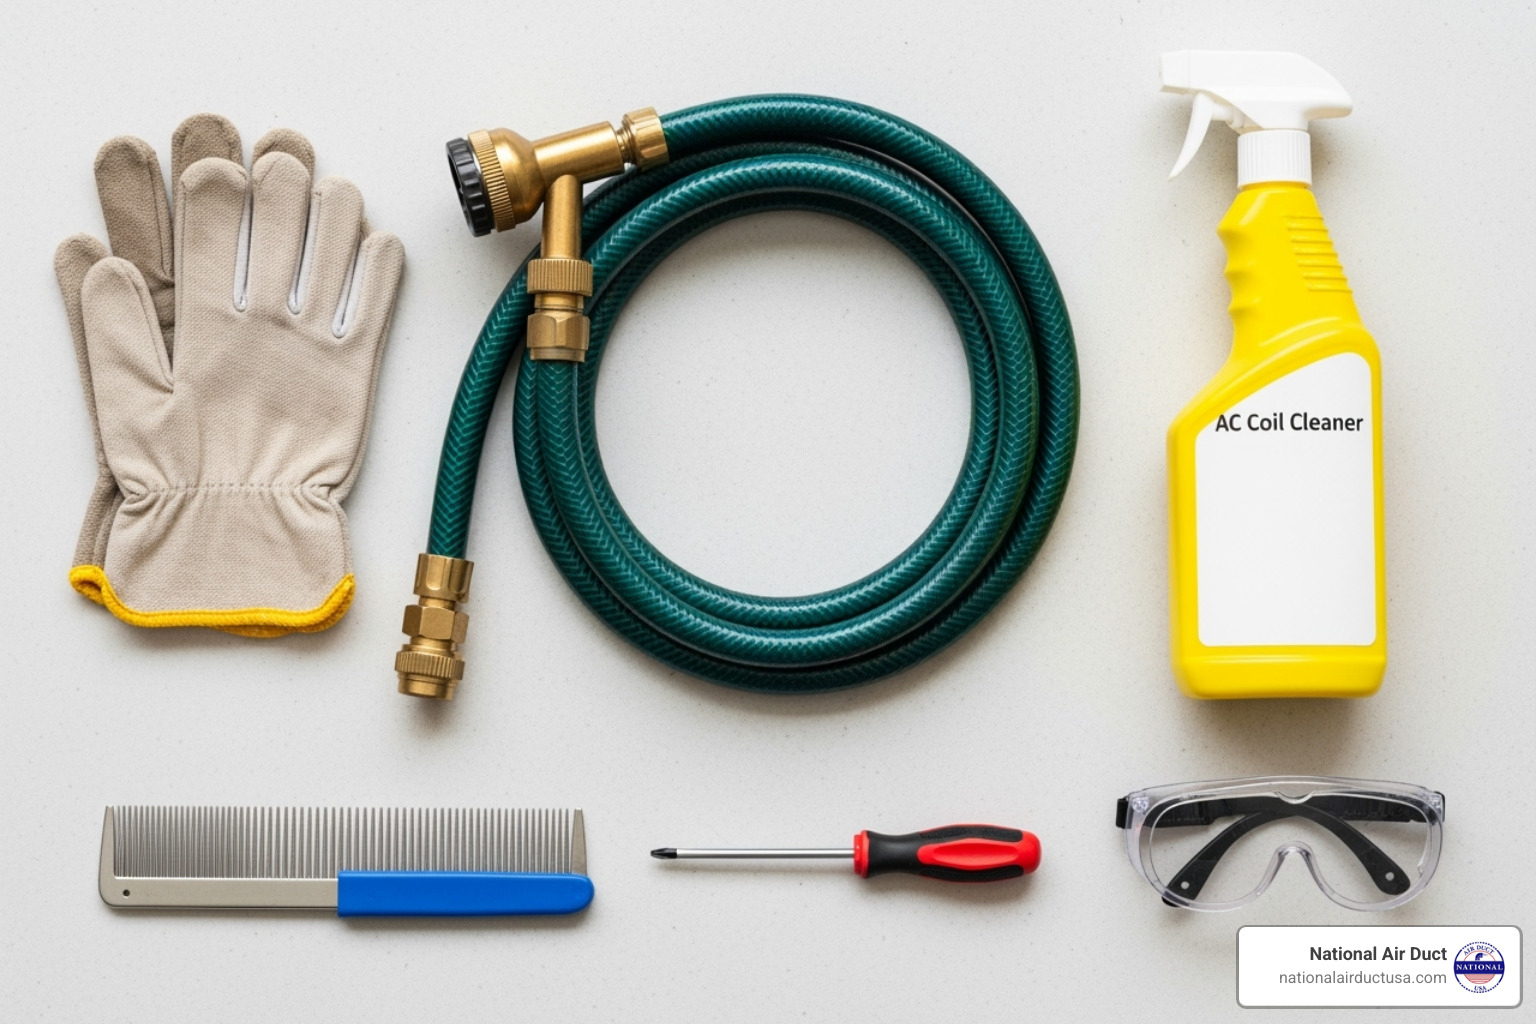
Now let’s gear up properly. Protective equipment might not look glamorous, but it’s your best friend during this project. Sturdy work gloves protect your hands from sharp metal fins and grime. Safety goggles shield your eyes from dust, debris, and cleaning solutions that might splash around.
A face mask is smart too, especially if your unit looks like it hasn’t been cleaned in a while. Nobody wants to breathe in a cloud of dust and allergens.
Time to gather your cleaning arsenal. The good news? You probably already have most of these items around the house. For what you don’t have, a quick trip to the hardware store will set you up perfectly.
Your garden hose with spray nozzle is perfect for gentle rinsing – and remember, gentle is the key word here. Never use a pressure washer on AC components. A commercial AC coil cleaner specifically designed for air conditioners will make your job much easier than trying to scrub away stubborn grime.
The fin comb might be new to you, but it’s incredibly handy for straightening those delicate aluminum fins that bend if you look at them wrong. A soft brush (even an old paintbrush works great) helps sweep away loose dirt without damaging anything.
You’ll want a screwdriver or nut driver for removing covers and panels. A shop vacuum with brush attachment is perfect for sucking up debris without causing damage. Round out your toolkit with some mild detergent, white vinegar for natural cleaning power, and a stiff wire (a straightened coat hanger works perfectly) for clearing clogged drain lines.
With power safely disconnected, protective gear in place, and tools ready to go, you’re all set to give your AC the deep clean it deserves. Let’s make that system run like new again!
A Step-by-Step Guide on How to Clean House Air Conditioner Components
Now comes the exciting part! We’re going to walk you through cleaning every important piece of your air conditioning system. The secret to success here is taking your time and being gentle with each component. Think of it like giving your AC a spa day – it deserves some TLC after working so hard to keep you comfortable.
How to Clean House Air Conditioner Filters and Indoor Parts
Let’s start our how to clean house air conditioner journey indoors, where your system’s hardest-working components live. Your air filter and condensate drain might not be glamorous, but they’re absolutely crucial for clean air and preventing costly water damage.
Your Air Filter: The Unsung Hero
Your air filter works like a superhero’s shield, blocking dust, pet hair, pollen, and other unwanted particles from entering your AC system and circulating through your home. When this filter gets clogged, dirt sneaks past and builds up on your evaporator coil, forcing your entire system to work much harder than it should.
Finding your filter depends on what type of system you have. For central air conditioners, you’ll typically find the filter along the return duct – usually near your indoor air handler (often close to your furnace) or tucked behind large return air grilles in walls or ceilings. For room units like window or wall-mounted ACs, just pop off the front panel and there it is, greeting you like an old friend!
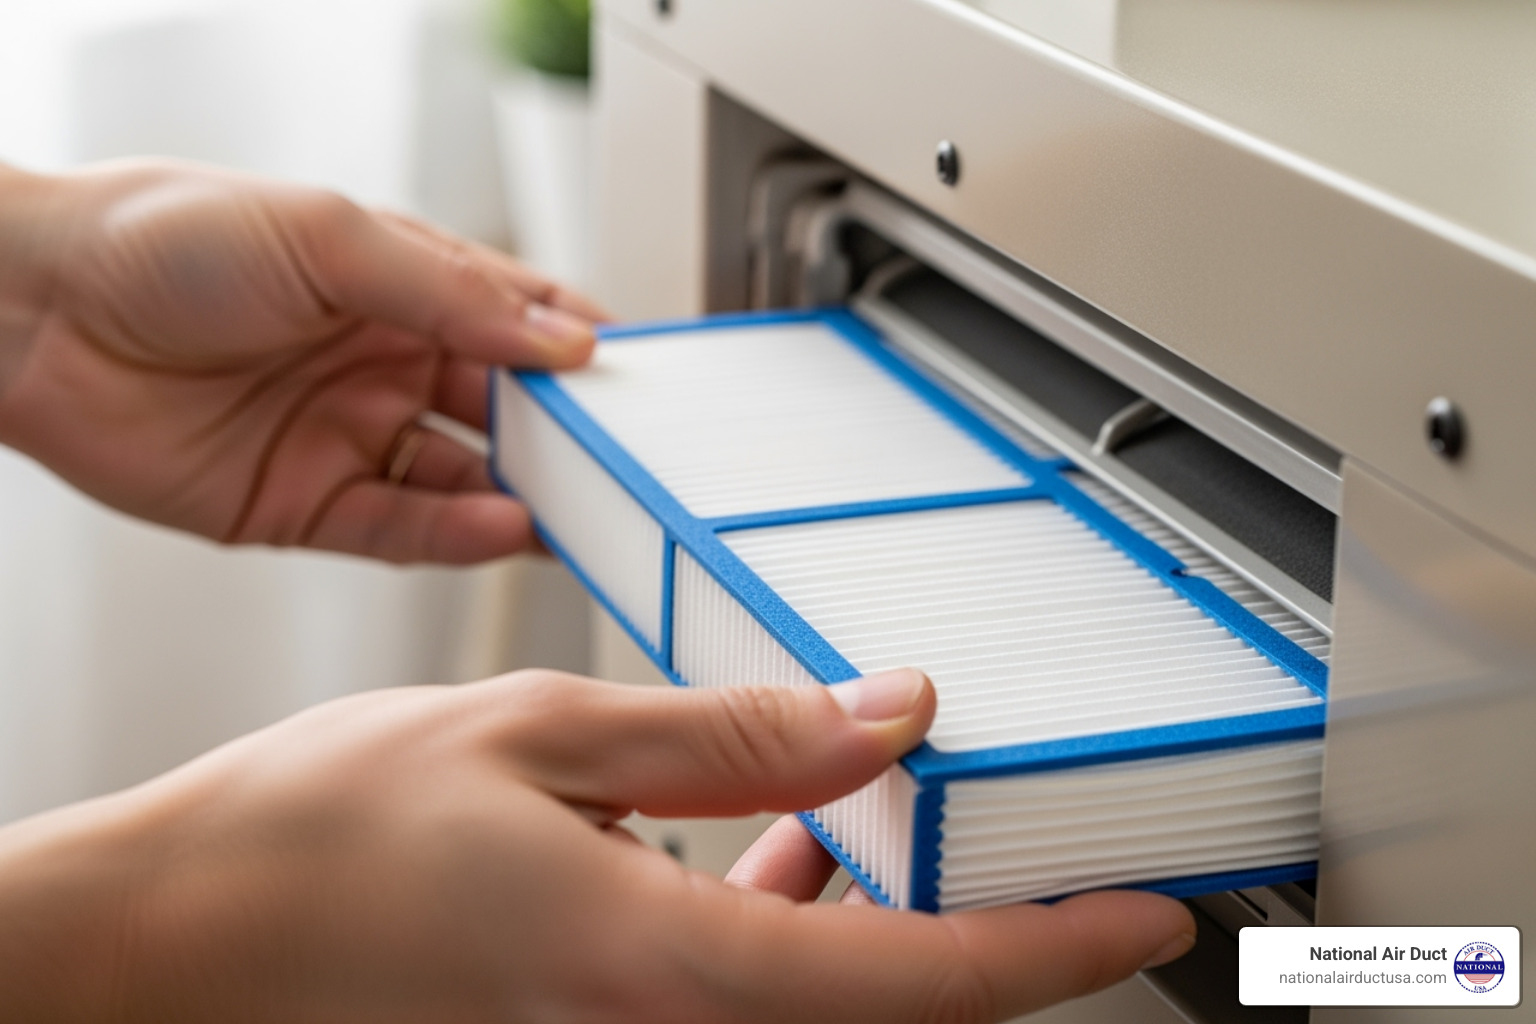
Now, here’s where things get interesting. Disposable filters are designed to be tossed and replaced – never try to wash them, as this can damage their filtration abilities or create mold problems. Reusable filters, on the other hand, are built from more durable materials and can handle a good cleaning when they get dirty.
The golden rule for filter maintenance is checking monthly and replacing or cleaning every 1 to 3 months. If you have pets, allergies, or run your AC constantly, you might need to do this more frequently. A dirty filter can make your AC work 5% to 15% harder – that’s money flying right out your window! Watch for visible dust buildup, reduced airflow from vents, or even ice forming on your indoor coil as warning signs.
Giving Reusable Filters Some Love
When it’s time to clean a reusable filter, start by carefully sliding it out of its slot. Use your shop vacuum with a brush attachment to gently remove loose dust and debris – this alone might do the trick!
If vacuuming isn’t enough, it’s bath time. Mix equal parts warm water and white vinegar, or use gentle dish soap with warm water. Submerge the filter or rinse it under lukewarm tap water, working from the clean side toward the dirty side. Rinse thoroughly until no soap or grime remains.
Here’s the most important part: let it air dry completely for at least 20 to 30 minutes before putting it back. Installing a damp filter is like rolling out the red carpet for mold and mildew. If your filter shows tears, holes, or stubborn grime that won’t budge, it’s time to retire it, even if it’s technically reusable.
For homes dealing with excessive dust throughout the house, you might benefit from our specialized Dust Removal Service to tackle the problem at its source.
Keeping Your Condensate Drain Happy
Your AC removes humidity from the air – all that moisture has to go somewhere! It collects in a drip pan and flows out through the condensate drain line. When this line gets clogged with algae, mold, or other gunk, water backs up and can cause your system to shut down or, worse, flood your home.
The drain line is usually a PVC pipe that exits from your indoor evaporator coil unit, often leading outside or to a utility drain. If you notice water pooling around your indoor unit, the drain is likely blocked. Try clearing it with a stiff wire, gently pushing through the line to dislodge blockages.
Once clear, flush the line with a cup of distilled white vinegar to kill remaining algae or mold. Let it sit for 15-30 minutes, then flush with water. We recommend doing this preventative flush every 2-3 months during peak cooling season.
The blower motor and assembly also play vital roles in your system’s performance. For comprehensive cleaning of these components, consider our professional Blower Cleaning services.
How to Clean House Air Conditioner Coils and Fins on the Outdoor Unit
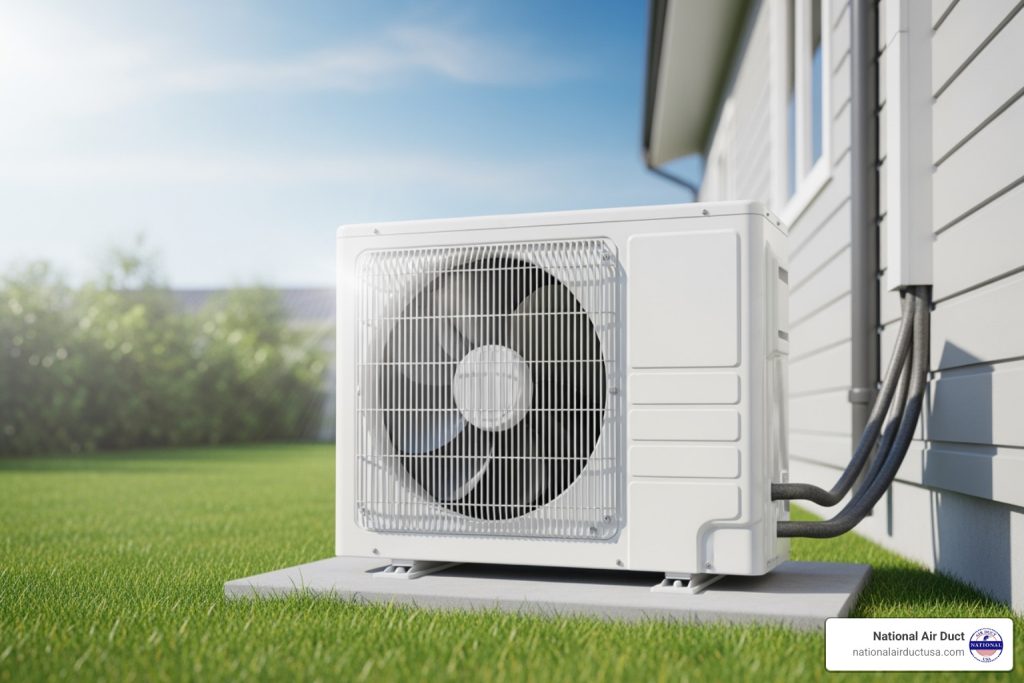
Time to head outside and show some love to your condenser unit – the outdoor hero that releases all the heat your AC has absorbed from inside your home. Think of it like your car’s radiator, but for your house. A clean condenser is absolutely essential for energy efficiency.
Give Your Unit Some Breathing Room
Before touching the unit itself, we need to clear the area. Your condenser needs at least 2 to 3 feet of clearance on all sides to breathe properly. Remove leaves, grass clippings, weeds, branches, and any other debris that has accumulated around or on top of the unit. Use your gloved hands or shop vacuum for this task. Trim back any shrubs or plants that have grown too close – they might provide nice shade, but they’re suffocating your AC!
Cleaning Those Delicate Coils and Fins
The condenser coils are those long, curved metal tubes with thin aluminum fins attached. These fins are surprisingly delicate and bend easily, which is why we’re using gentle methods throughout this process. Bent fins block airflow and reduce your system’s efficiency significantly.
Start by removing the outer cover or metal grille – most units have covers that unscrew or lift off easily. Check your owner’s manual if you’re unsure. This gives you better access to the coils inside.
Use your shop vacuum with a soft brush attachment to gently remove loose dirt, dust, and that pesky cottonwood fluff from the fins. Work from top to bottom, being extra careful not to press too hard.
If you spot bent fins, gently straighten them with your fin comb. Don’t have one? A thin, dull knife can work in a pinch, but be extremely careful not to puncture the coils – that would be an expensive mistake!
Choosing the Right Coil Cleaner
Now for the specialized cleaning products. You’ll encounter two main types of coil cleaners, each with their own advantages:
Foaming cleaners expand to penetrate deep into the coil fins, making them excellent for heavily soiled units. They cling to surfaces longer, giving them more time to break down stubborn grime. However, they require thorough rinsing and can be messier to work with.
Non-foaming cleaners are typically easier to apply and rinse off. They work well for regular maintenance cleaning and are less likely to leave residue if not completely rinsed away. They’re also generally more environmentally friendly.
Follow the manufacturer’s instructions carefully for whichever type you choose. Apply the cleaner evenly across the coils, let it work its magic for the recommended time, then rinse thoroughly with your garden hose.
The Gentle Rinse
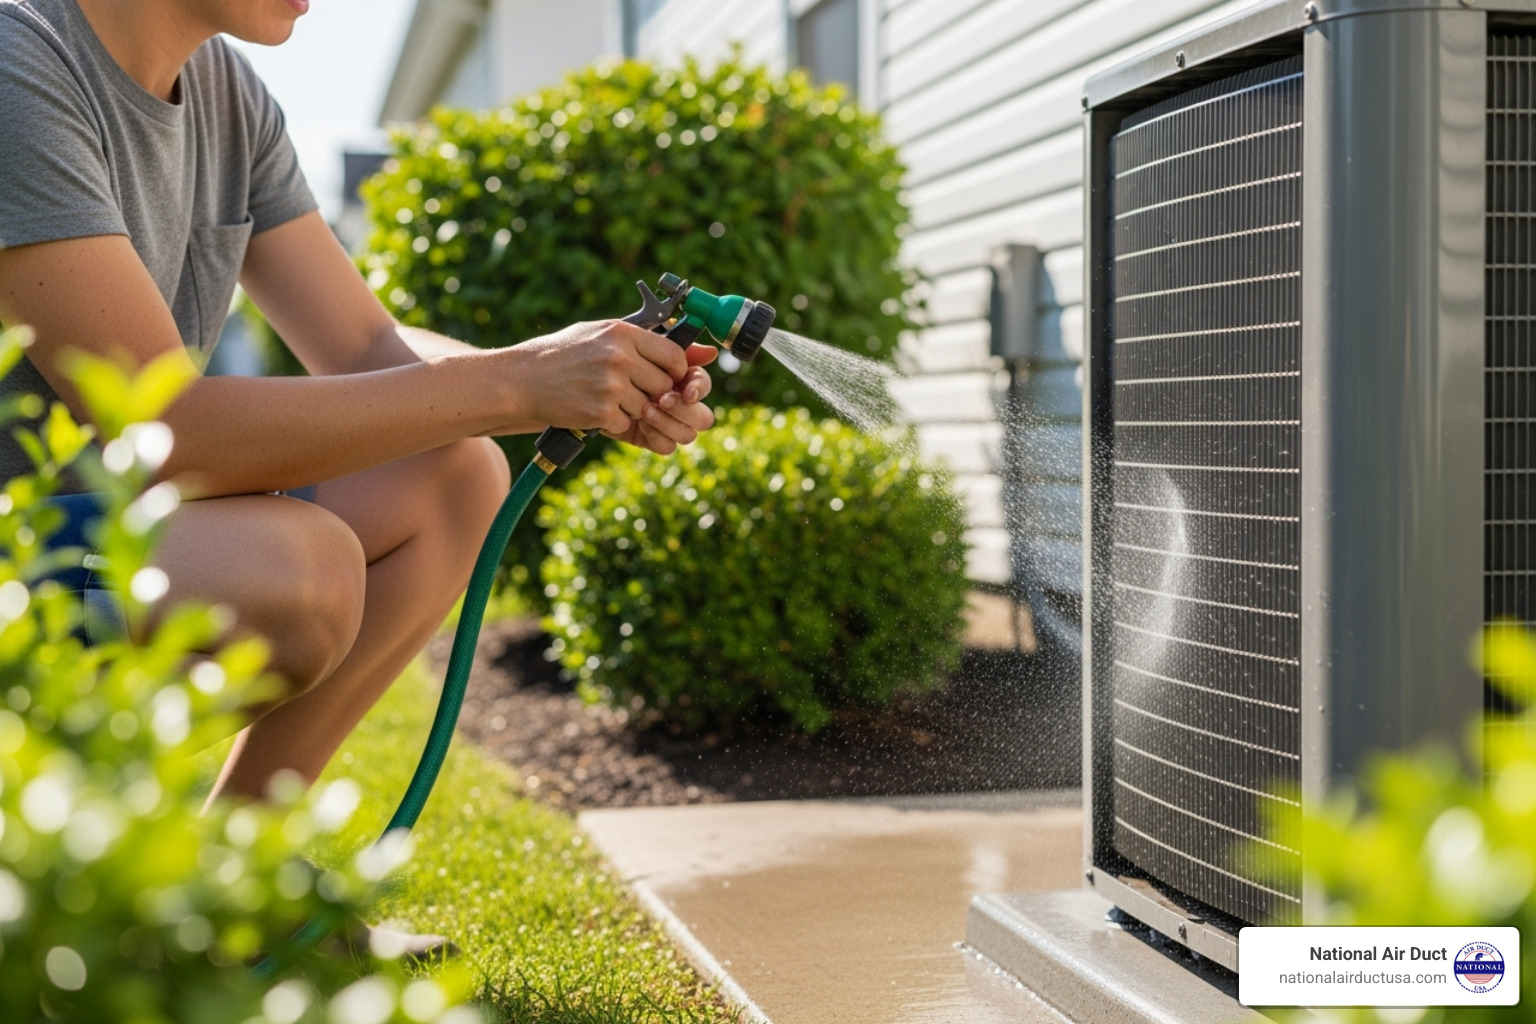
Here’s a crucial point: never use a pressure washer on your AC coils! The high pressure can easily bend or damage those delicate fins we’ve been so careful with. A regular garden hose with a spray nozzle is perfect. Spray from the inside of the unit outward, working in the opposite direction of normal airflow to push dirt and debris out rather than deeper into the coils.
Take your time with the rinse – any leftover cleaner residue can attract more dirt later. Once everything looks clean and you’ve rinsed thoroughly, let the unit air dry before turning the power back on.
For the most thorough and professional cleaning of your coils, consider our specialized Coil Cleaning service, where our certified technicians use commercial-grade equipment and techniques.
Preparing Your Air Conditioner for Off-Season Storage
As summer winds down, it’s time to think about preparing your AC for its winter rest. Covering your outdoor unit helps prevent debris buildup during the off-season, but make sure you use a cover designed for AC units that allows for proper ventilation.
If you have a heat pump, it works year-round, so don’t cover it completely – you’ll need access for winter heating operation.
For window units, the best practice is removing and storing them indoors if possible. This protects them from harsh winter weather and extends their lifespan. Before storing, give them a thorough cleaning and check that window seals are intact to prevent drafts during the cold months.
Taking these steps now means your AC will be ready to provide reliable, efficient cooling when warm weather returns next year.

